Omnisense Ulysses Micro meets the FLIR M232, thermal cameras compared
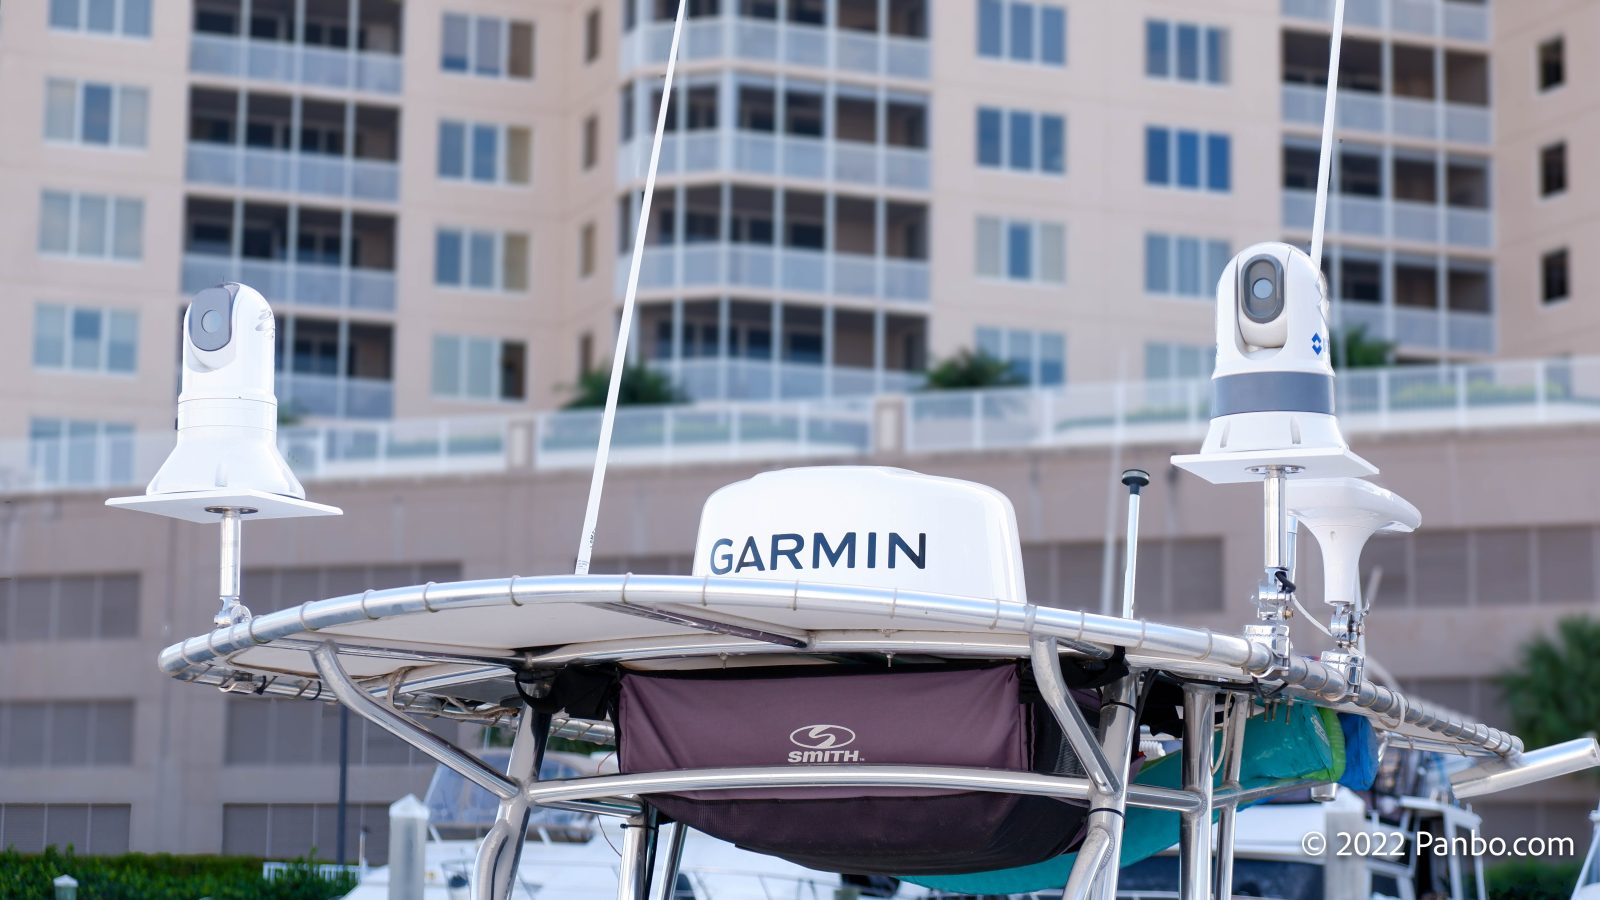
When you think of a thermal night vision camera you might not think of Omnisense, but you probably do think of FLIR. Omnisense hopes to change that with their Ulysses line of thermal cameras. With a strong feature set, broad MFD support, and competitive features, it looks like an interesting comparison. I’ve been testing both the Omnisense Ulysses Micro and the FLIR M232. It’s been fun comparing the two and I see strengths and weaknesses to both but read on to see if there’s a clear winner.
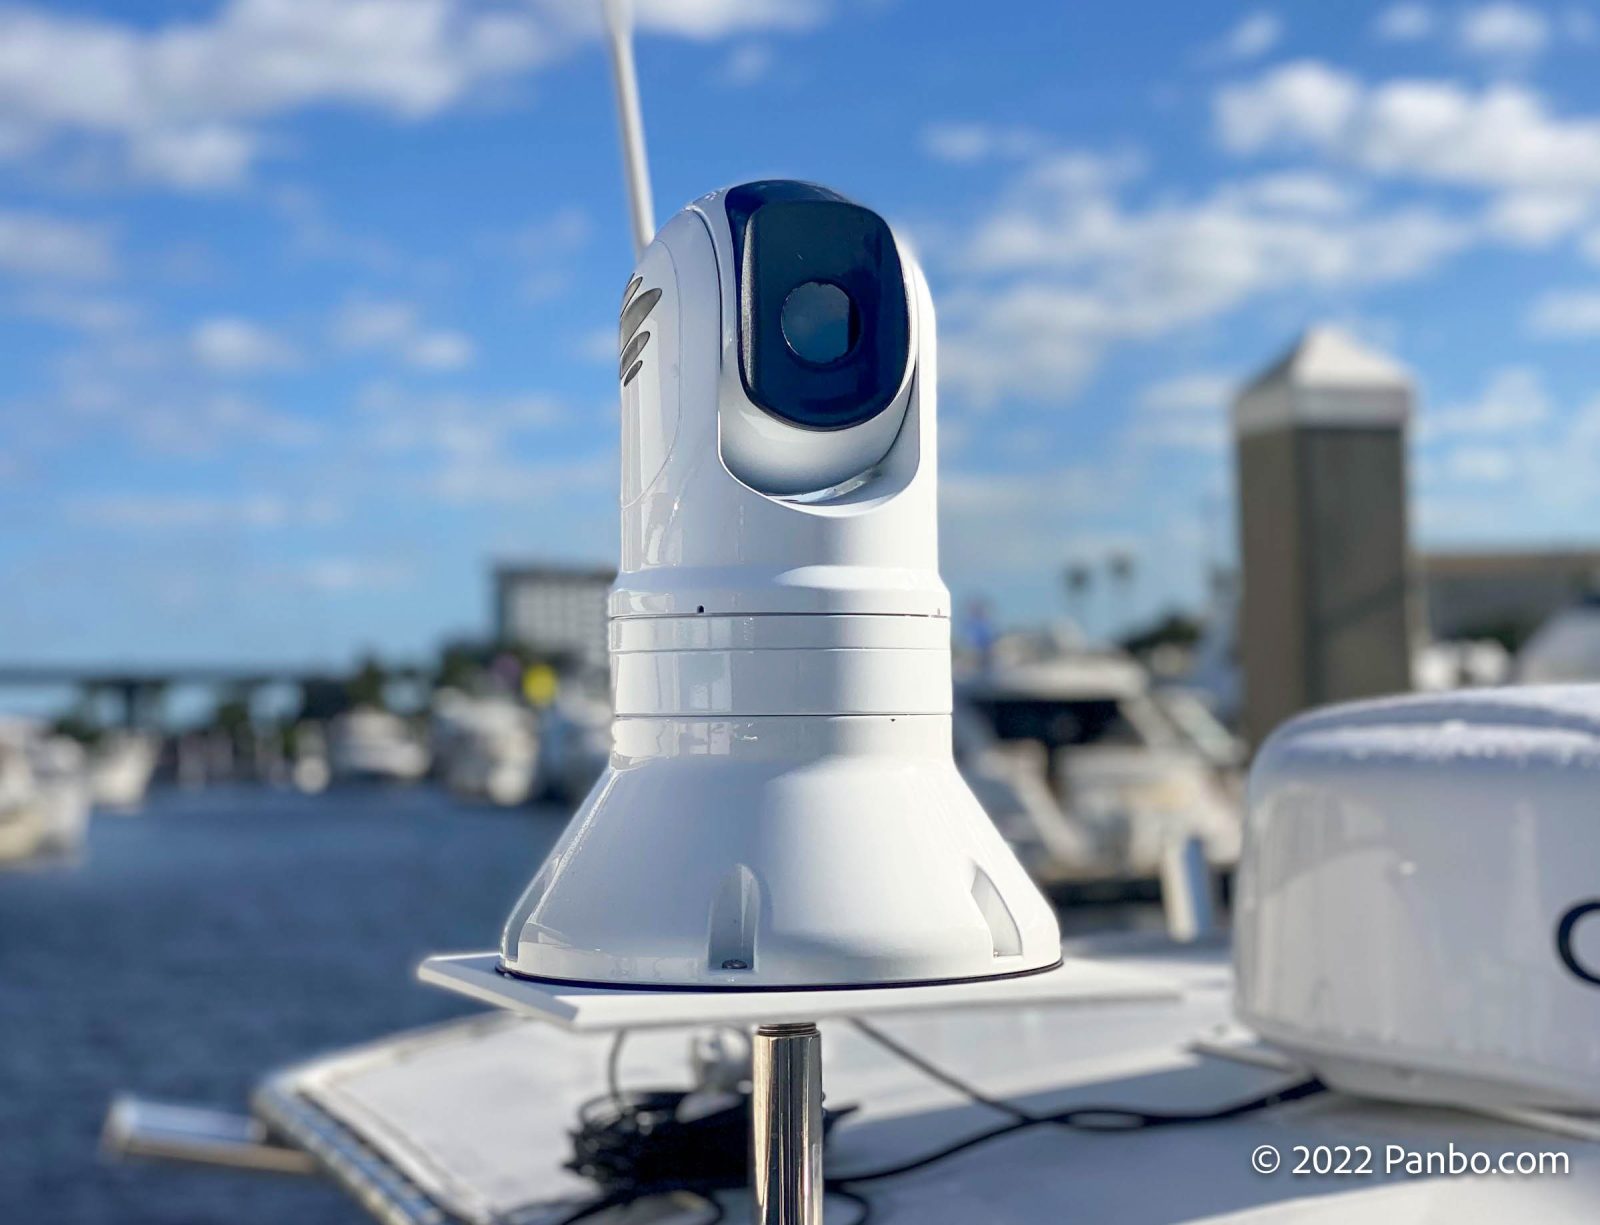
Omnisense offers cameras ranging from the 384×288 pixel, non-stabilized, thermal only Ulysses Micro that I’m testing to the 640×480, stabilized, dual-payload (thermal and visible light) Ulysses II. The base Micro starts with a $3,699 list price while the range-topping, dual payload (thermal and visible light) Ulysses II lists for $55,999. The Ulysses Micro has a 13mm focal length lens giving it a 29-degree horizontal and 22-degree vertical field of view.
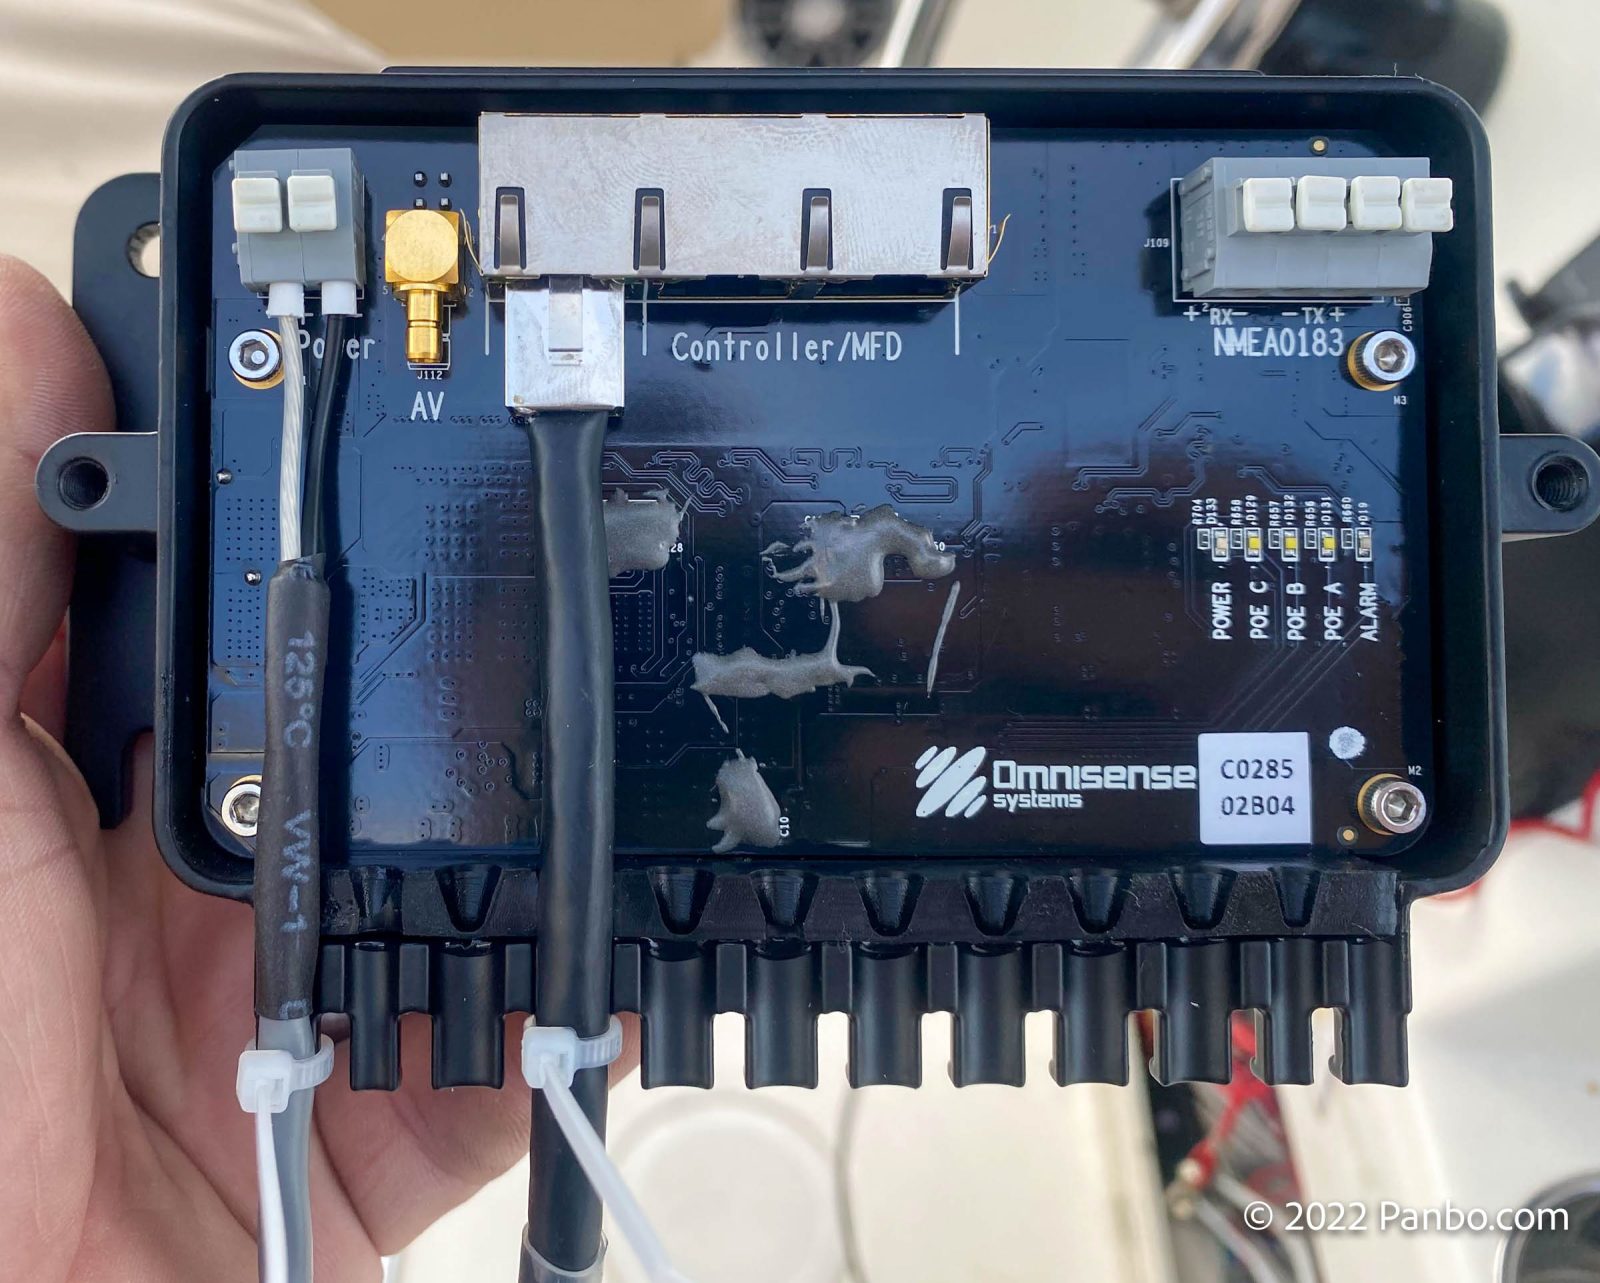
The Ulysses Micro uses a single cable from the junction box to the camera for both power and data. It also includes the junction box pictured above that allows easy, below-decks connection to an analog video cable, NMEA 0183 data, or connecting a physical joystick controller. The Omnisense Joystick lists for $500 and the mounting base that the camera is mounted on in the photos lists for $100
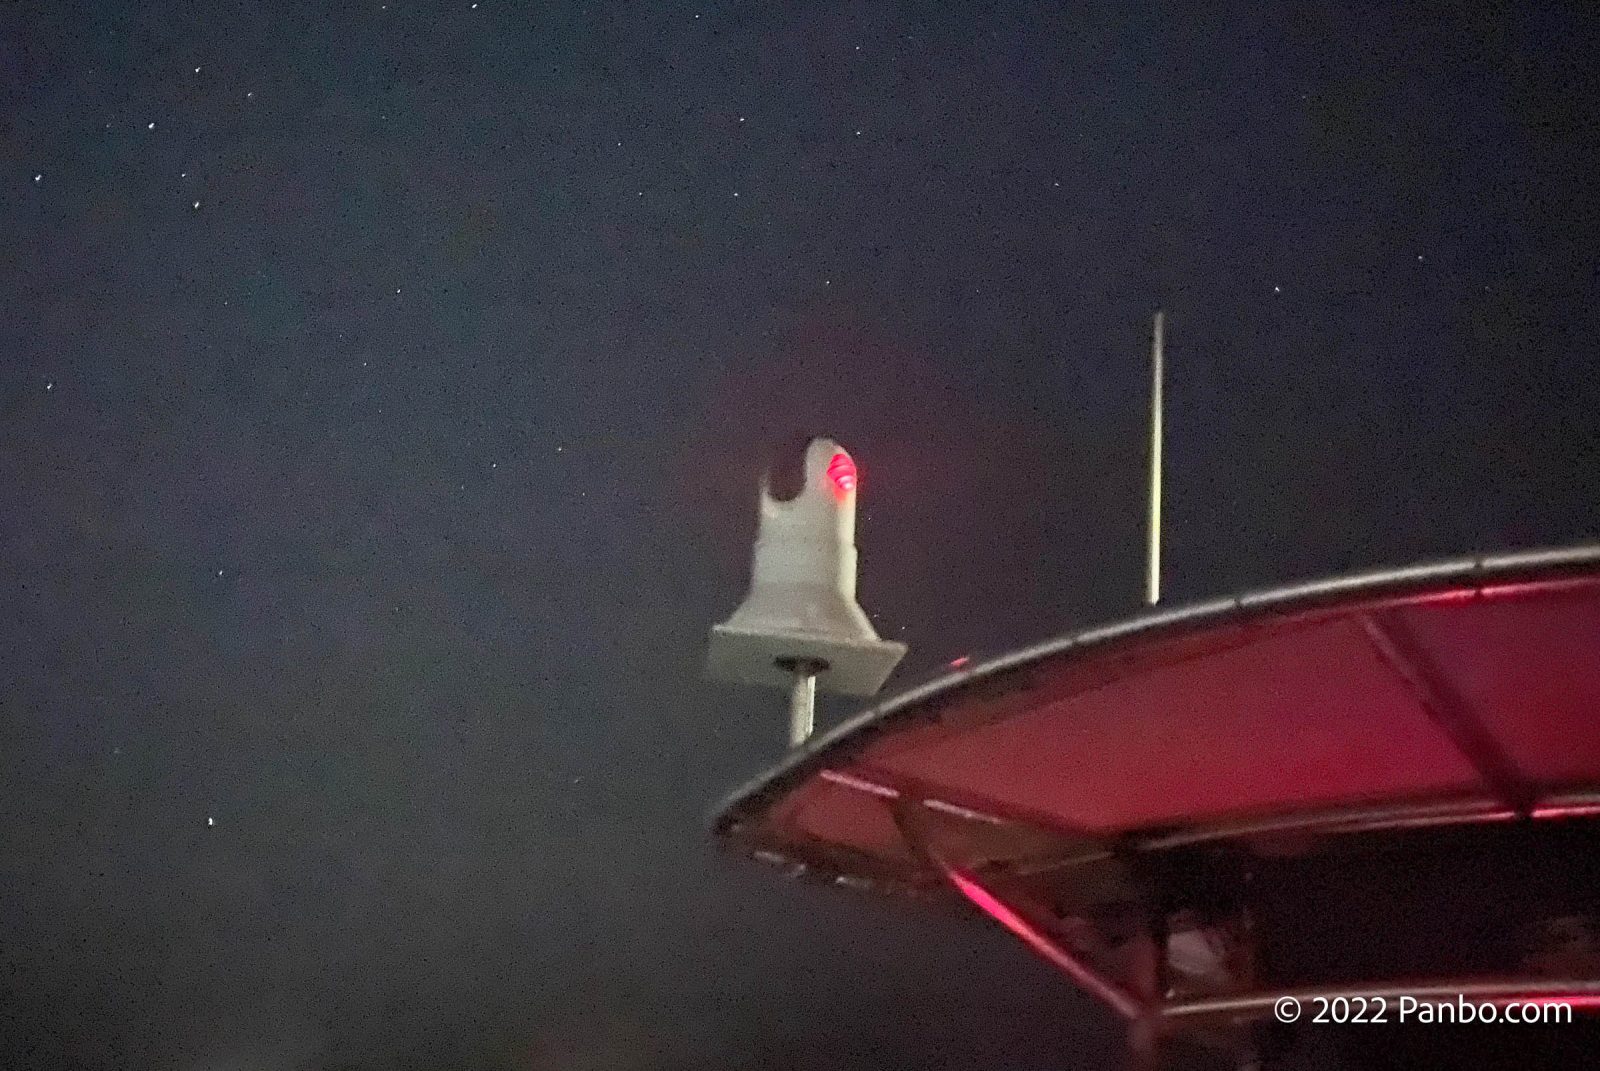
Omnisense is proud of the job they’ve done with the physical build of all their cameras. The camera housing is Awl Grip painted aluminum and, as you can see in the photo above, the Omnisense logo on the side of the camera is illuminated. You can adjust the color and brightness of the illumination or turn it off altogether via the camera’s on-screen menus.
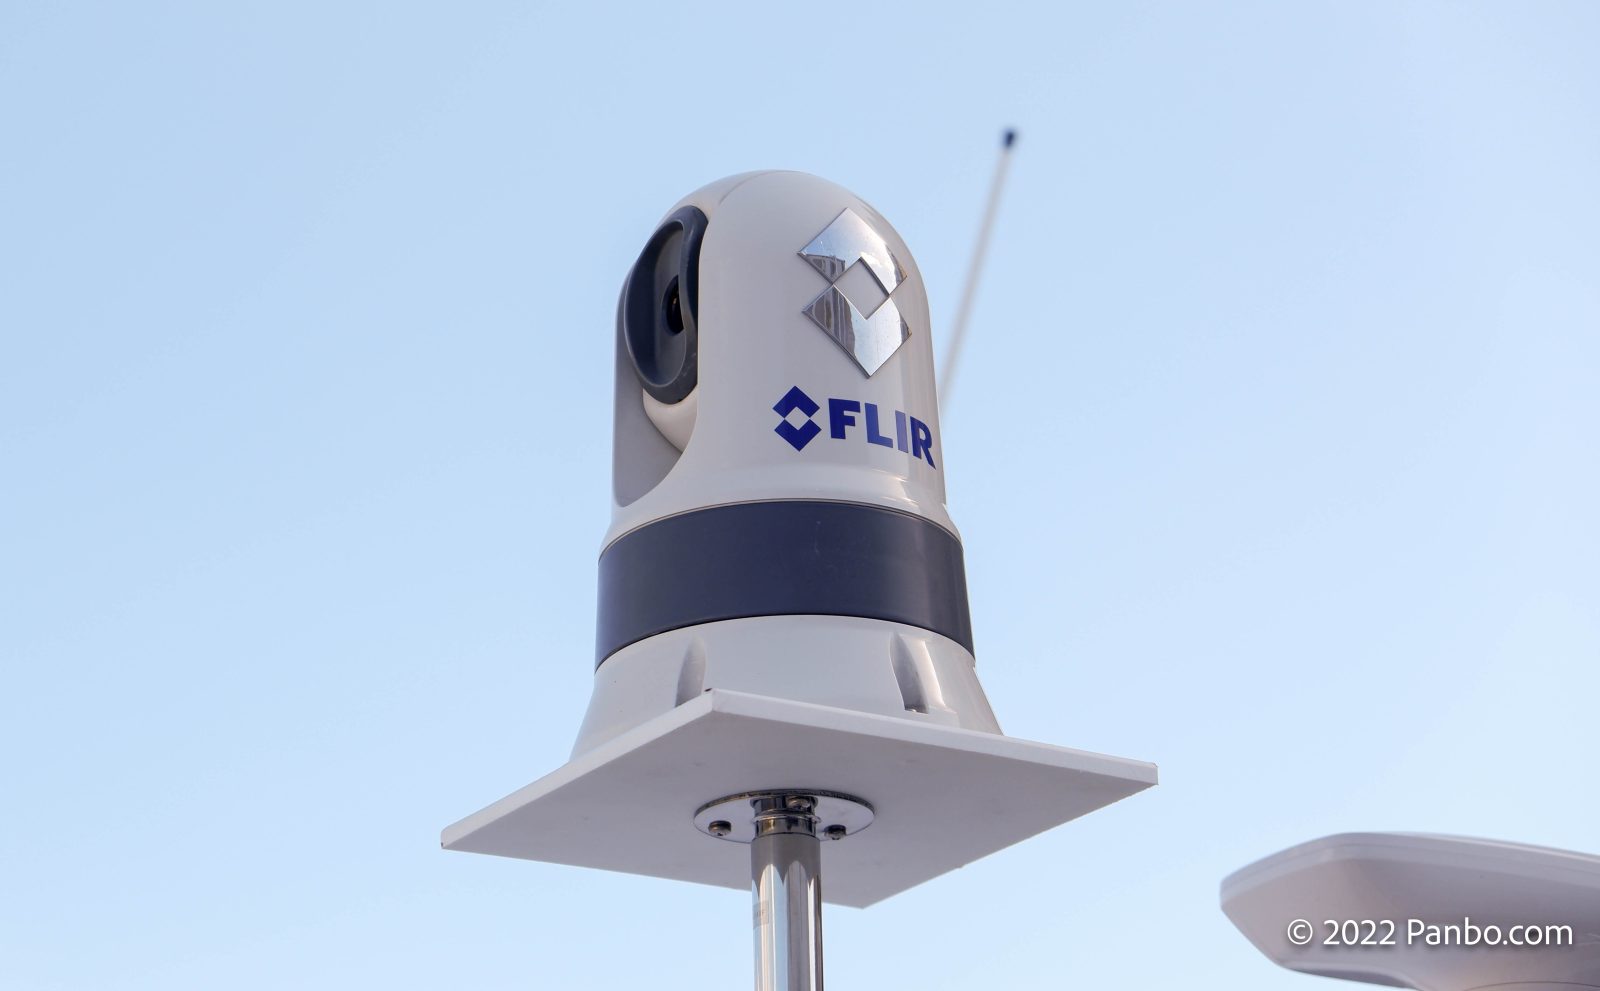
The $3,650 M232 is FLIR’s entry into fixed mount, pan and tilt, maritime thermal cameras. The camera has a 320×240 pixel resolution with a 19mm focal length lens to give it a 24-degree horizontal by 18-degree vertical field of view. The M232 uses a two cable install with one carrying power and the other data. FLIR includes the mounting pedesdatal shown above and their JCU-3 joystick lists for $400.
The M232’s body is constructed of plastic. But, I should mention that the unit I’m using has been mounted on Have Another Day’s hardtop for several years and shows no signs of aging or sun damage. Ben Ellison and I have both used M232s to test various Raymarine and FLIR integrations.
MFD Support
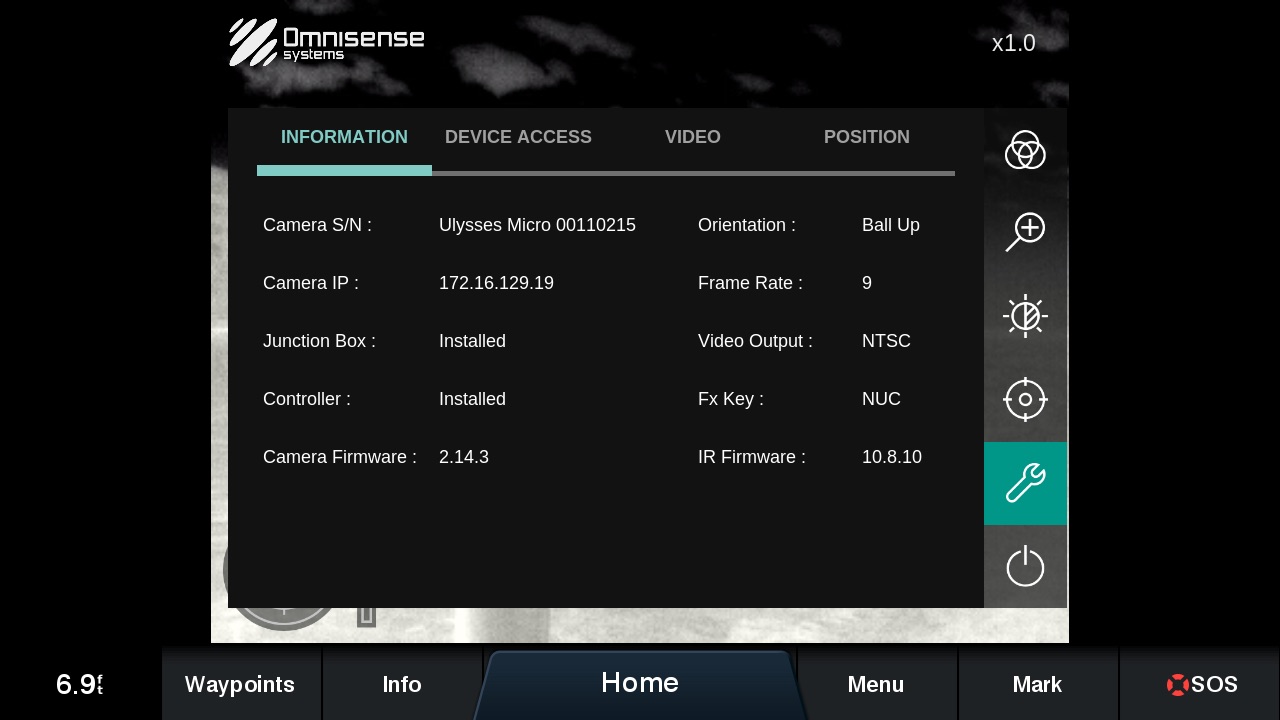
Both cameras support MFDs from Furuno, Garmin, Raymarine, and Simrad / B&G. Omnisense’s interface is delivered via HTML5 with the MFD just displaying the feed from the camera and sending information on touch screen interactions back. The camera is outputting a video feed that includes the camera image, on-screen joystick, and menus. This means the user interface will look exactly the same on all MFDs or when connected directly to a computer or tablet.
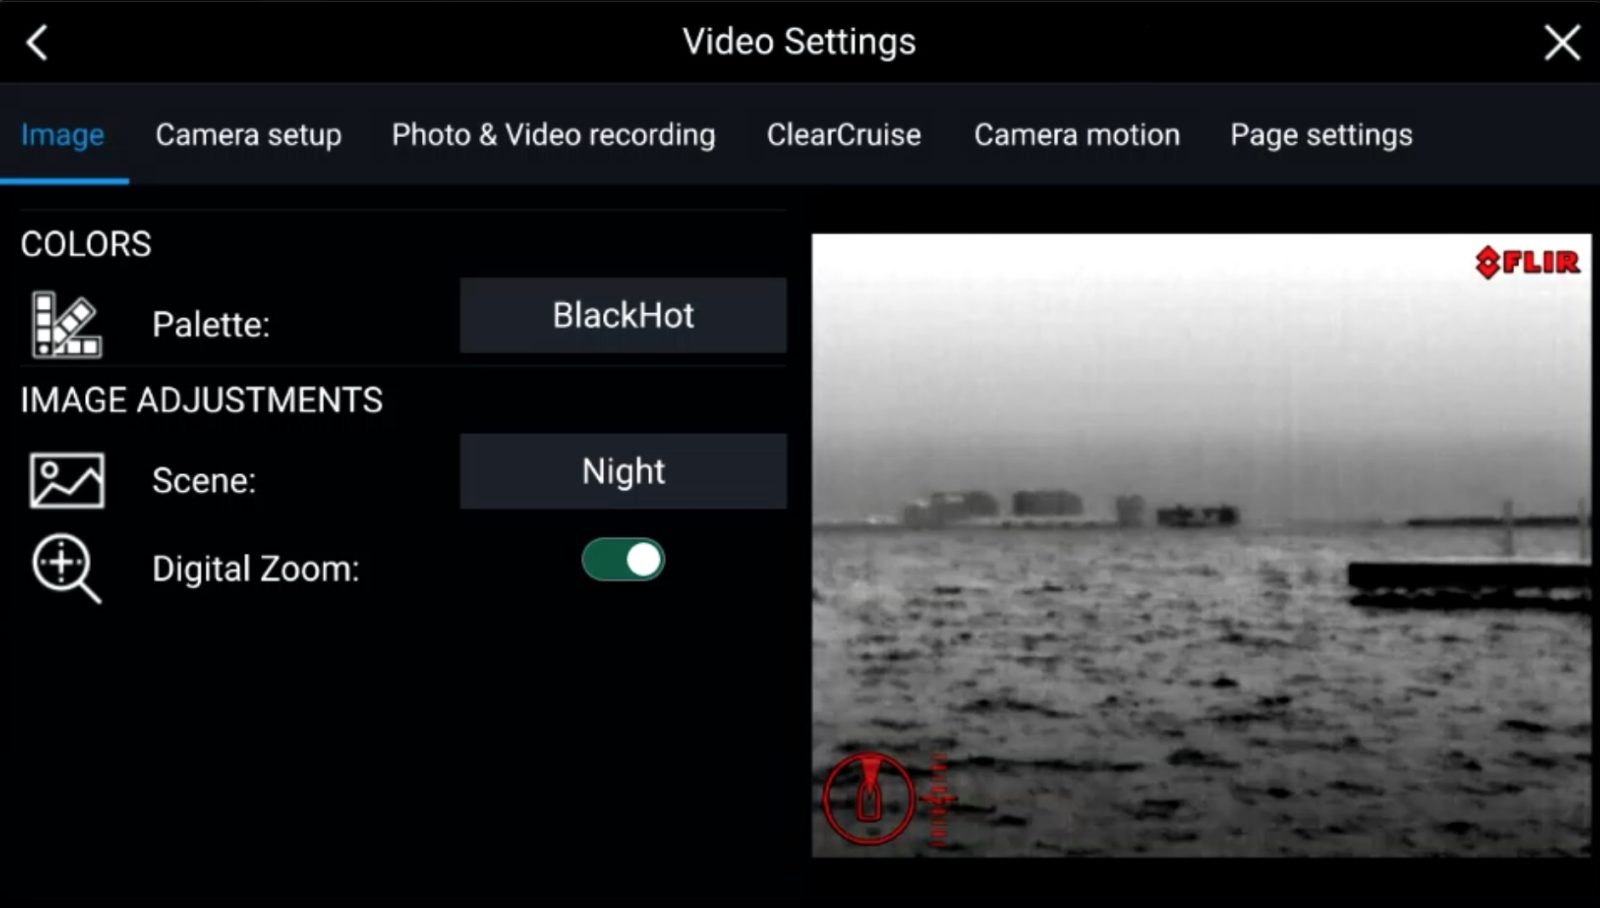
FLIR cameras have a management API all four major MFD manufacturers have implemented. This means that the camera settings are managed via menus matching the rest of the MFD’s settings screens.
Using the cameras
Although the cameras look pretty similar and serve the same purpose, there are some pretty significant differences. The single most substantial difference may be resolution. The Ulysses Micro’s 384×288 sensor has a total of 110,592 pixels. The M232’s 320×240 sensor has a total of 76,800 pixels. That equates to 44 percent more pixels for the Ulysses. Of note, Omnisense only enjoys this resolution advantage in their lower resolution cameras. Cameras like the Ulysses Micro S+, Mini, Mini+, and II all have a 640×480 resolution sensor. FLIR M364 cameras have a 640×512 sensor, the M400 series have 640×480, and the M500 has a 640×512 sensor. The 640×512 cameras have 7-percent more pixels than the 640×480 sensors.
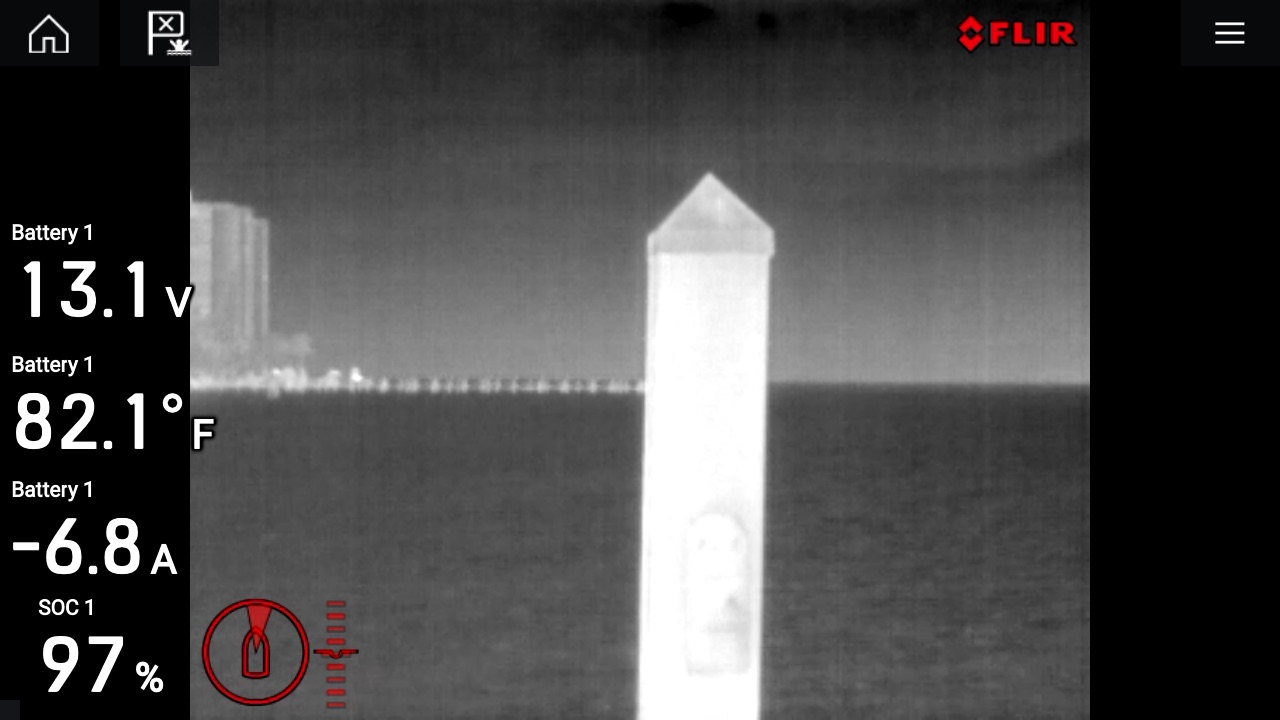
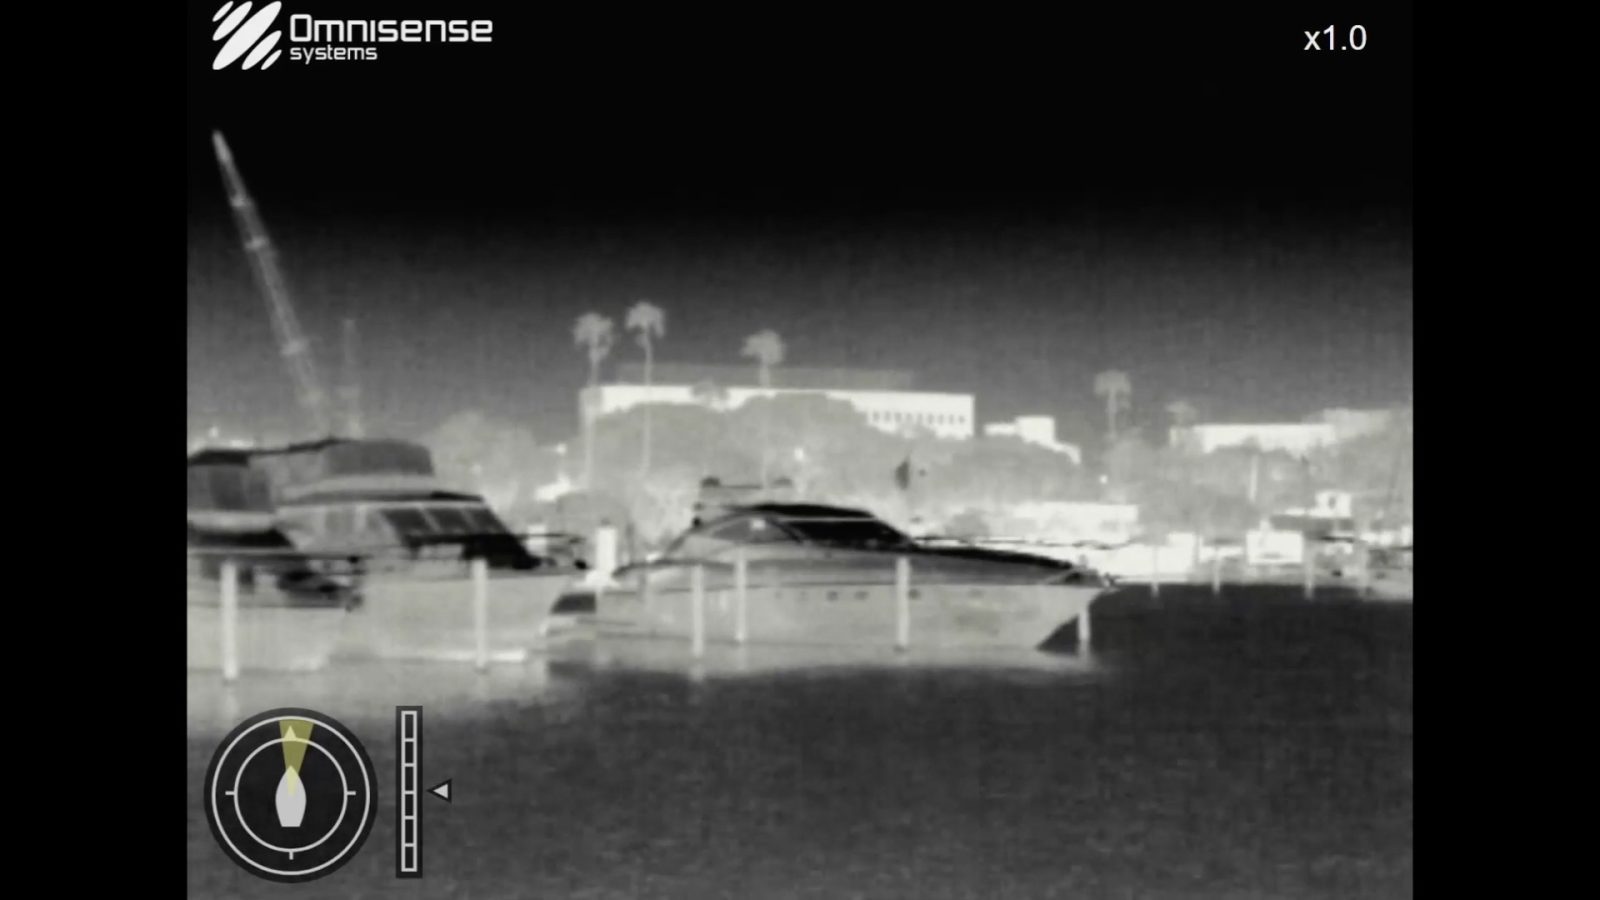
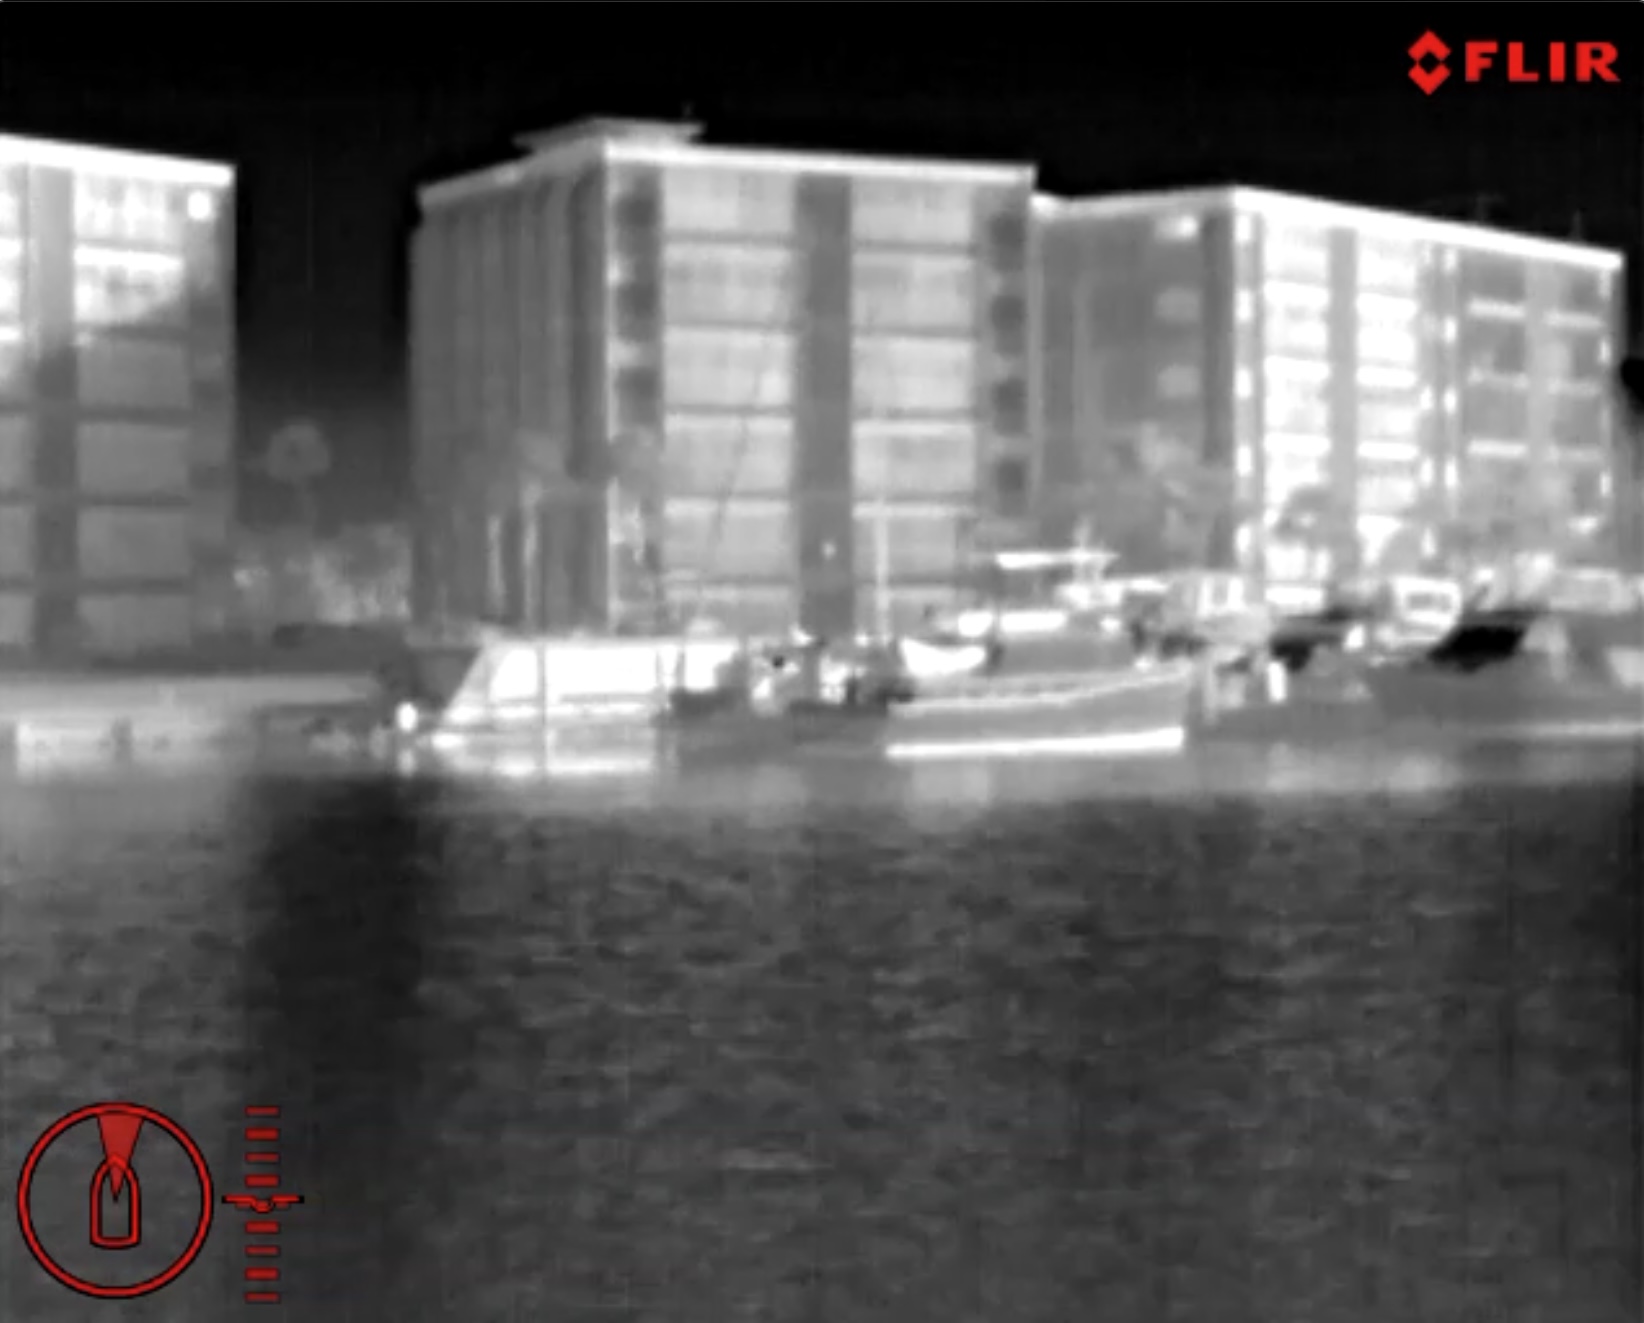
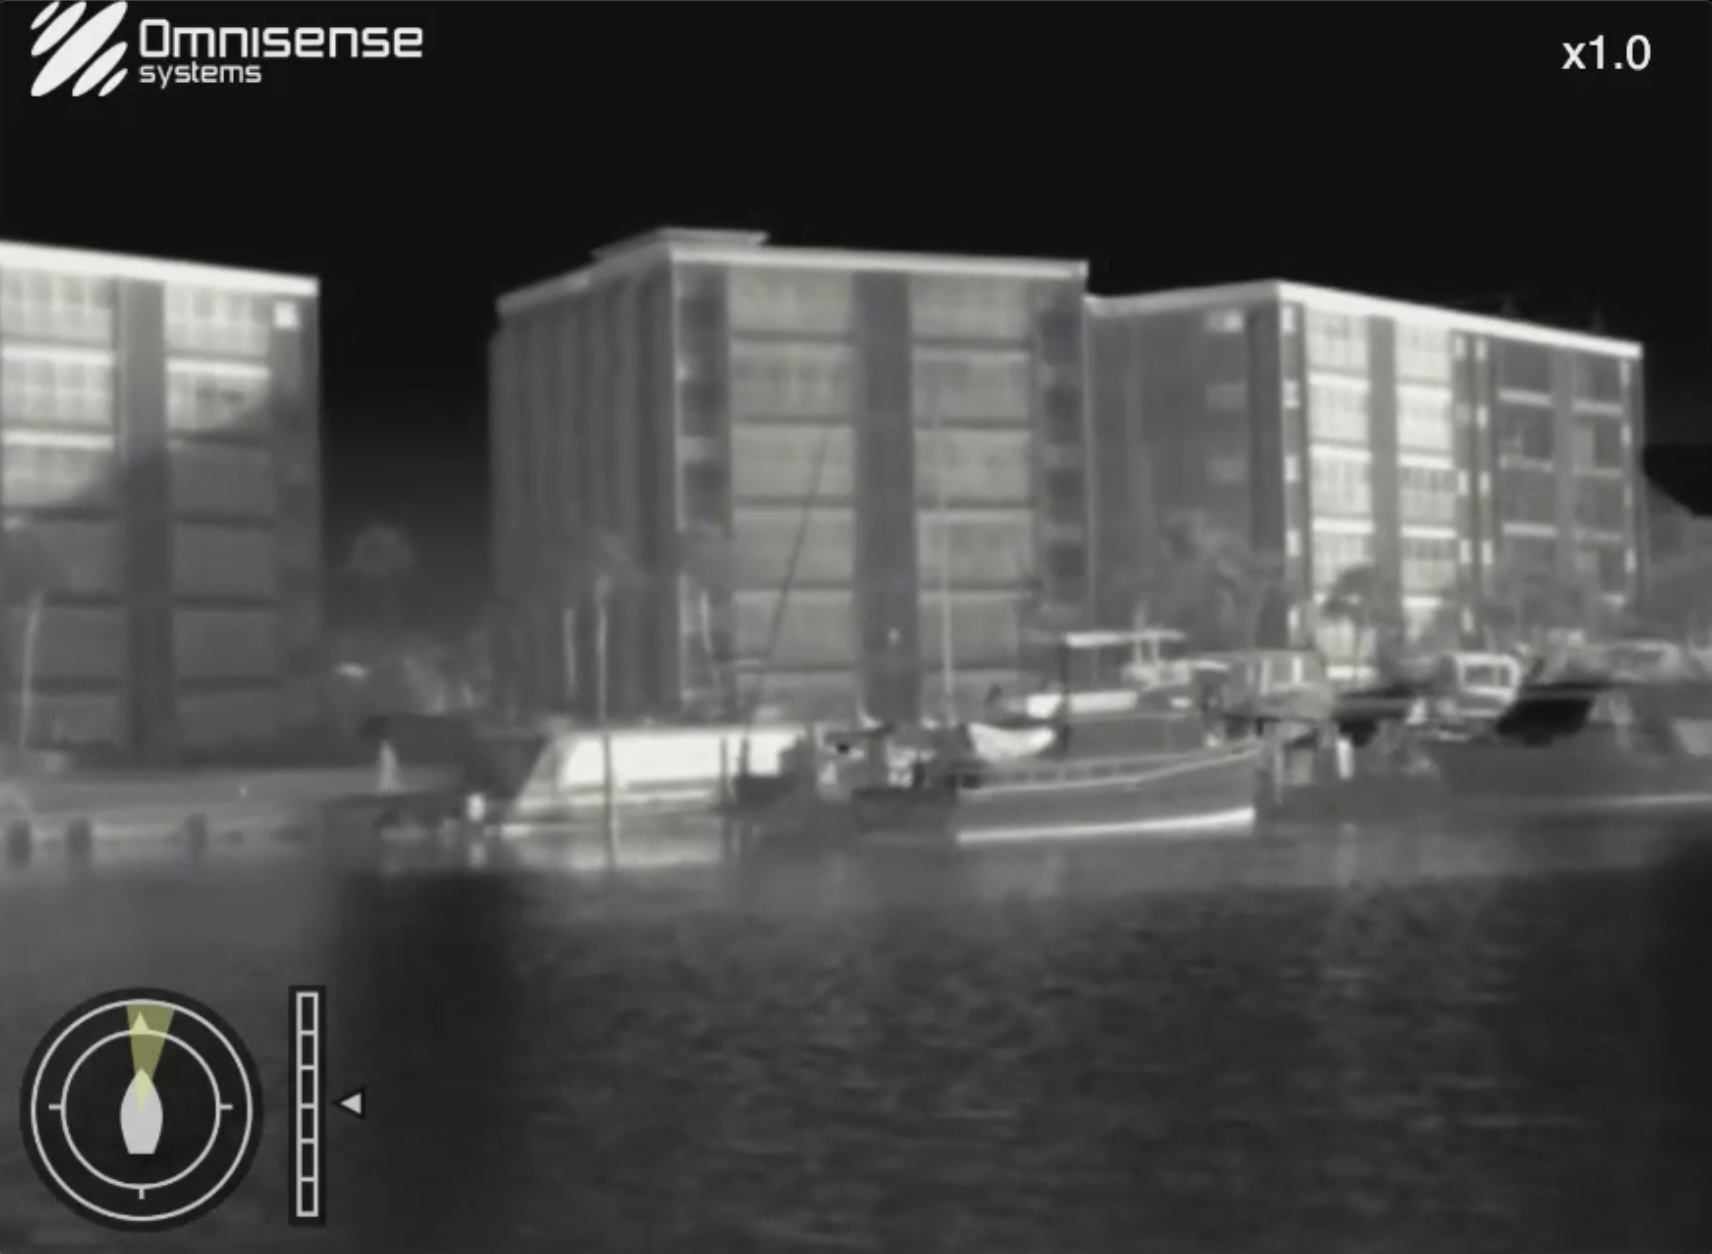
During my testing, I often felt that I could see the additional resolution show up in the Ulysses’ images. I regularly could see more detail in the Omnisense’s picture. The Omnisense image is more contrasty when compared to the FLIR’s. On the other hand, the FLIR routinely shows more detail in the mid-range of the image.
Omnisense’s images tend to have more contrast, but perhaps at the expense of less detail in mid-temperatures. The M232 has image presets for day, night, and docking. I’ve tried each of these presets but haven’t noticed a large difference. The greater contrast of the Ulysses’ images often made it easier to quickly identify an object. But, I find the greater detail in the mid-ranges from the M232 to be helpful in fully understanding the image.
Both cameras support either onscreen touch controls or a physical joystick to pan and tilt the camera. For my testing, I’ve focused on the onscreen controls. FLIR uses a swipe control for the camera. So, to move the camera horizontally you swipe across the screen and to move it vertically you swipe up and down on the screen. Omnisense uses a virtual, on-screen joystick. Anywhere you press a small joystick-like interface is brought up on screen under your finger. The virtual joystick is proportional, so to move slowly you move your finger a short distance in whatever direction you’d like to move. To move faster, you move your finger a little further.
The Omnisense virtual joystick makes it much faster and easier to move the camera large degrees. For example, if the camera is facing forward and you want to see something aft of the boat the joystick makes it quite quick to swing the camera around. By contrast, the FLIR swiping input requires quite a few swipes across the screen. On the other hand, fine adjustments, like moving the camera a degree or two, are easier with FLIR’s swiping input. I often found myself overshooting the adjustment I intended with Omnisense’s virtual joystick.
-
FLIR has four color scheme options -
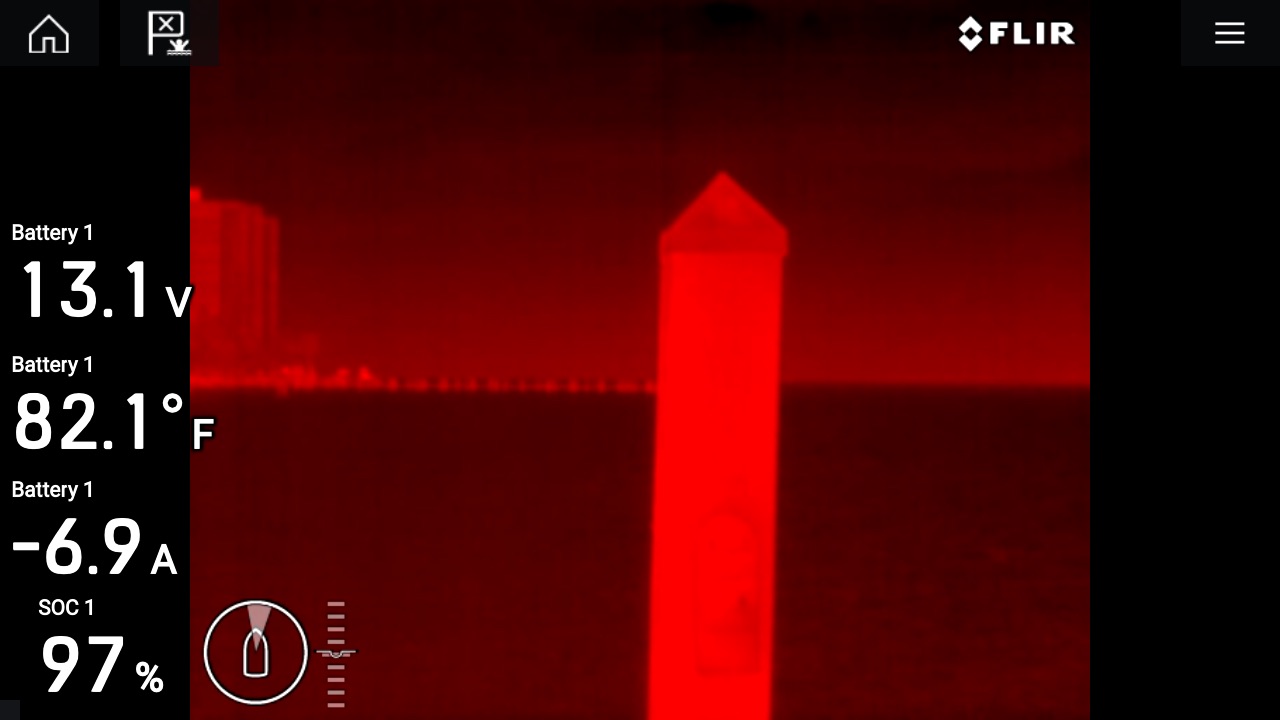
FLIR has four color scheme options -
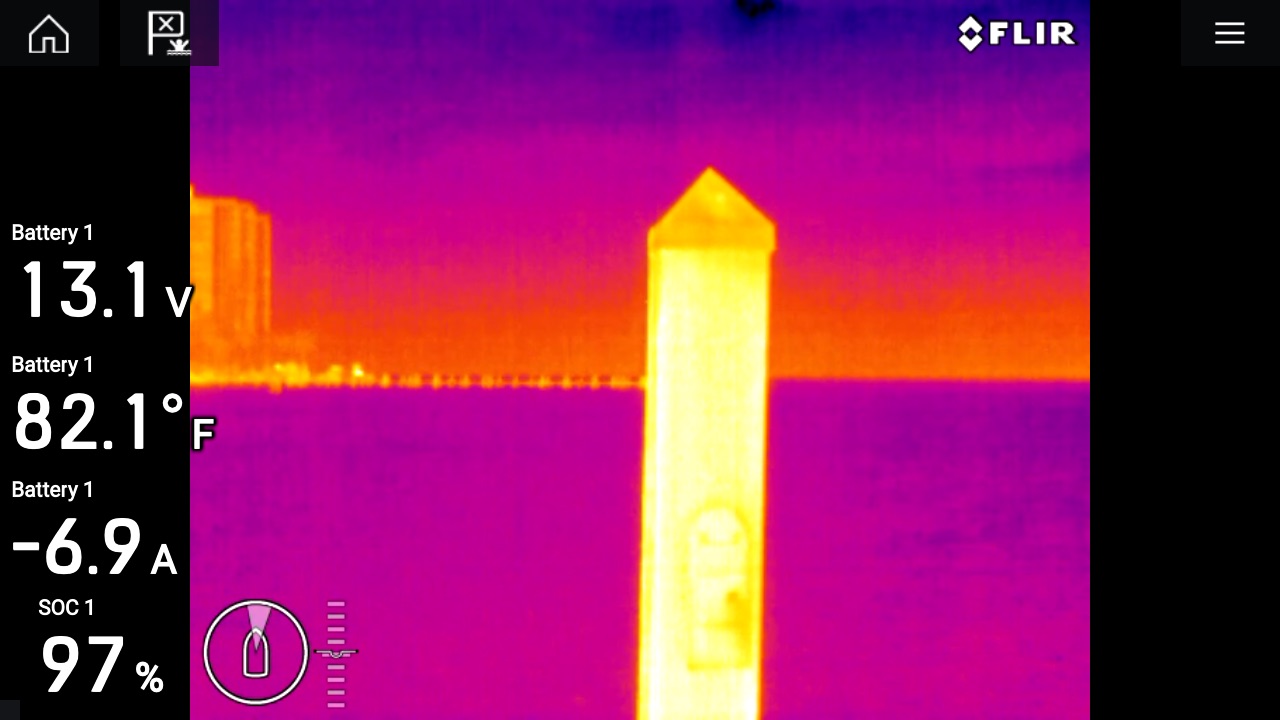
FLIR has four color scheme options -
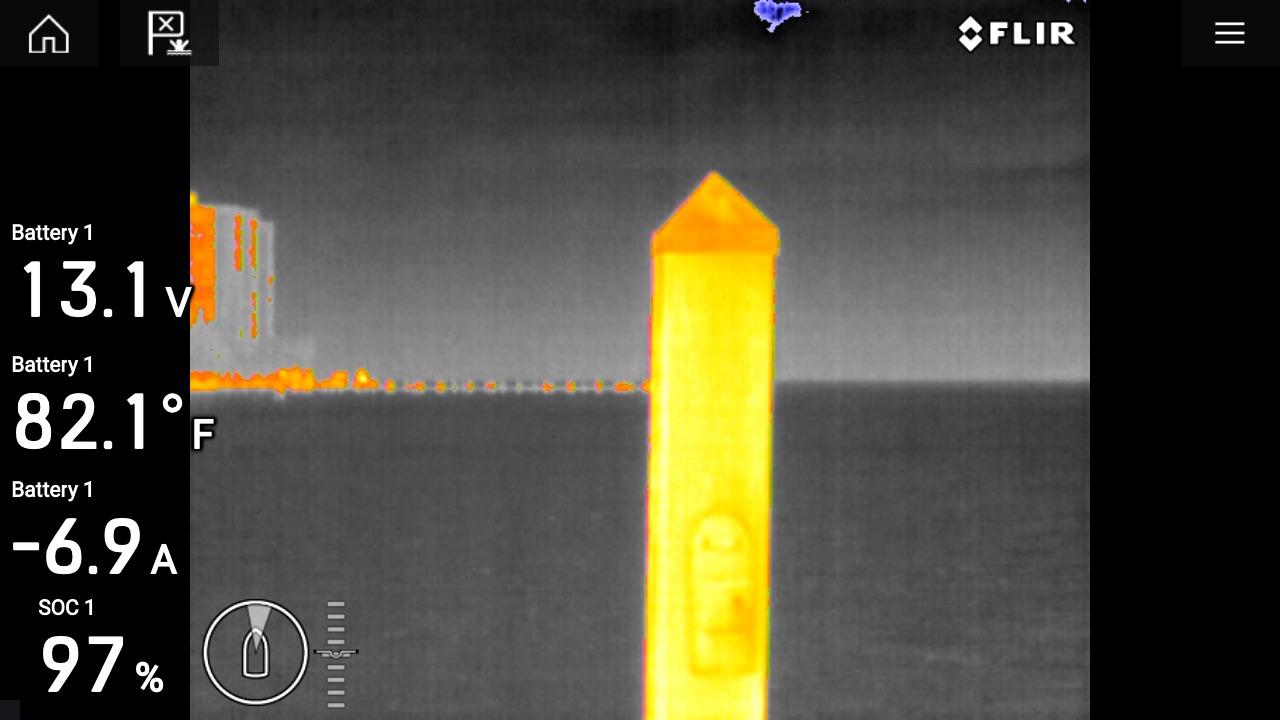
FLIR has four color scheme options -
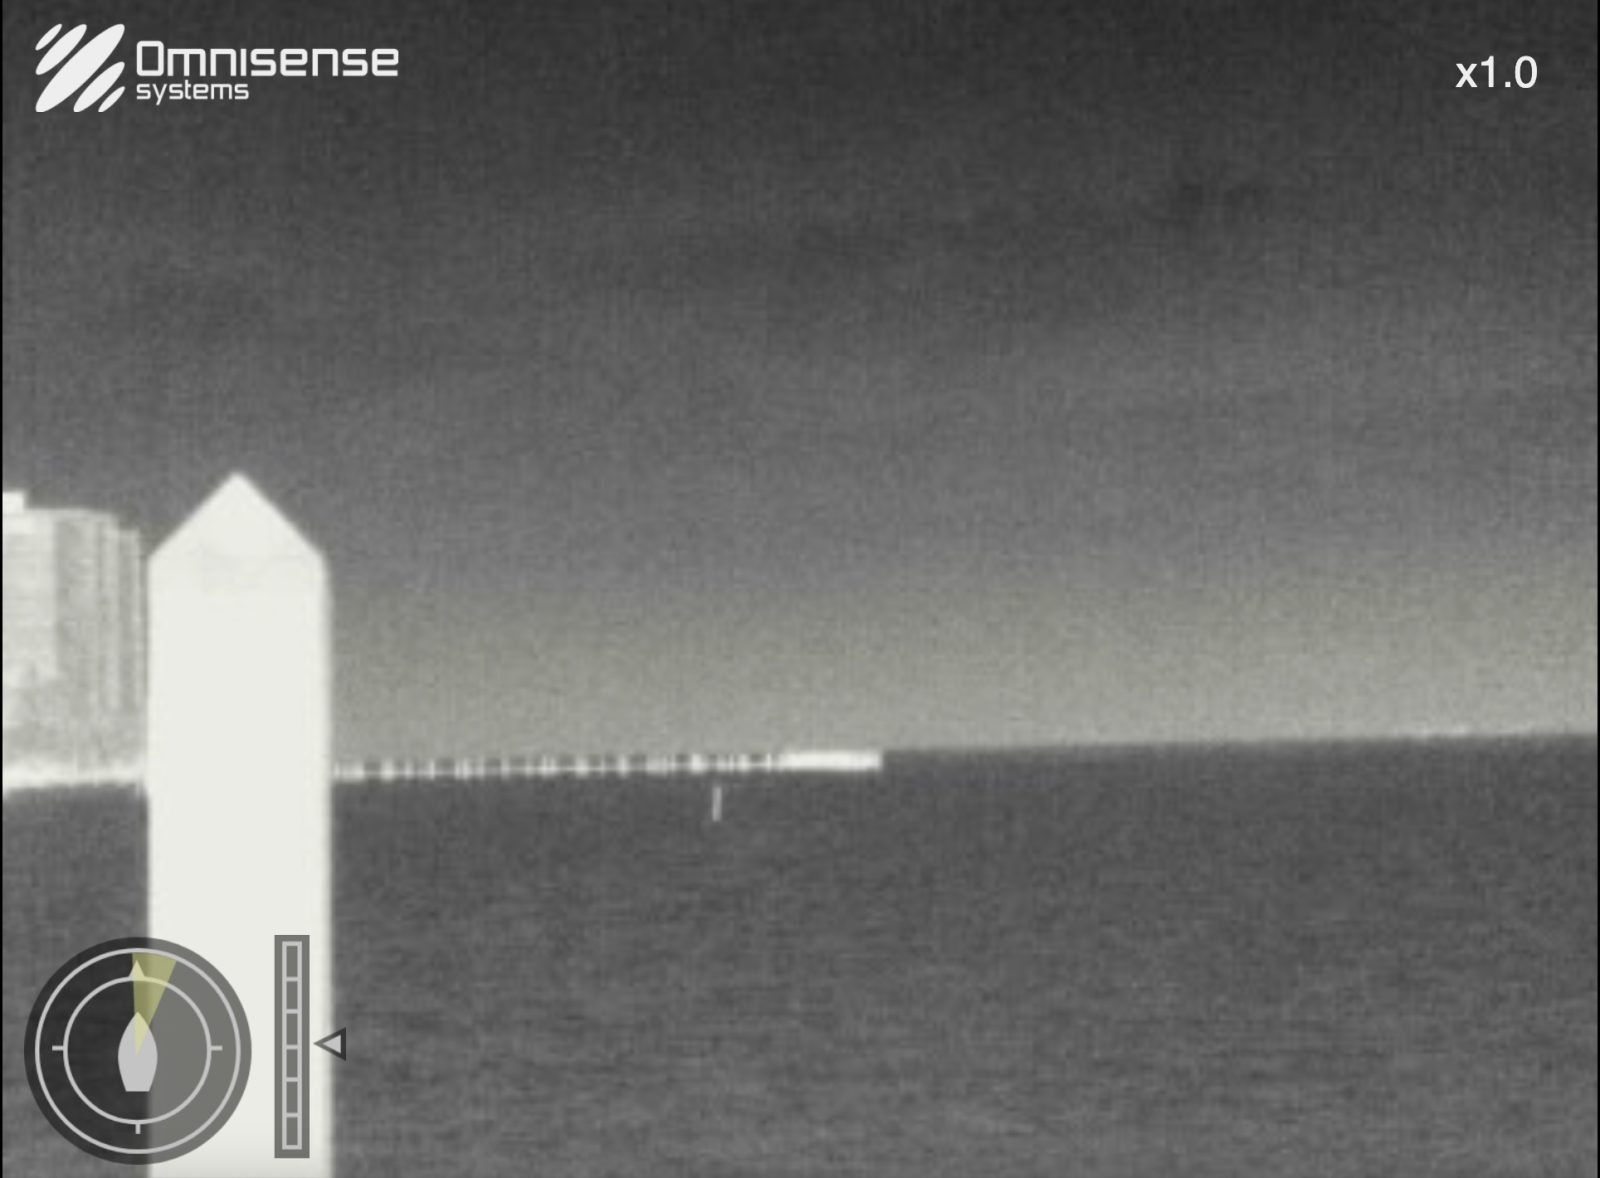
Omnisense has five color scheme options -
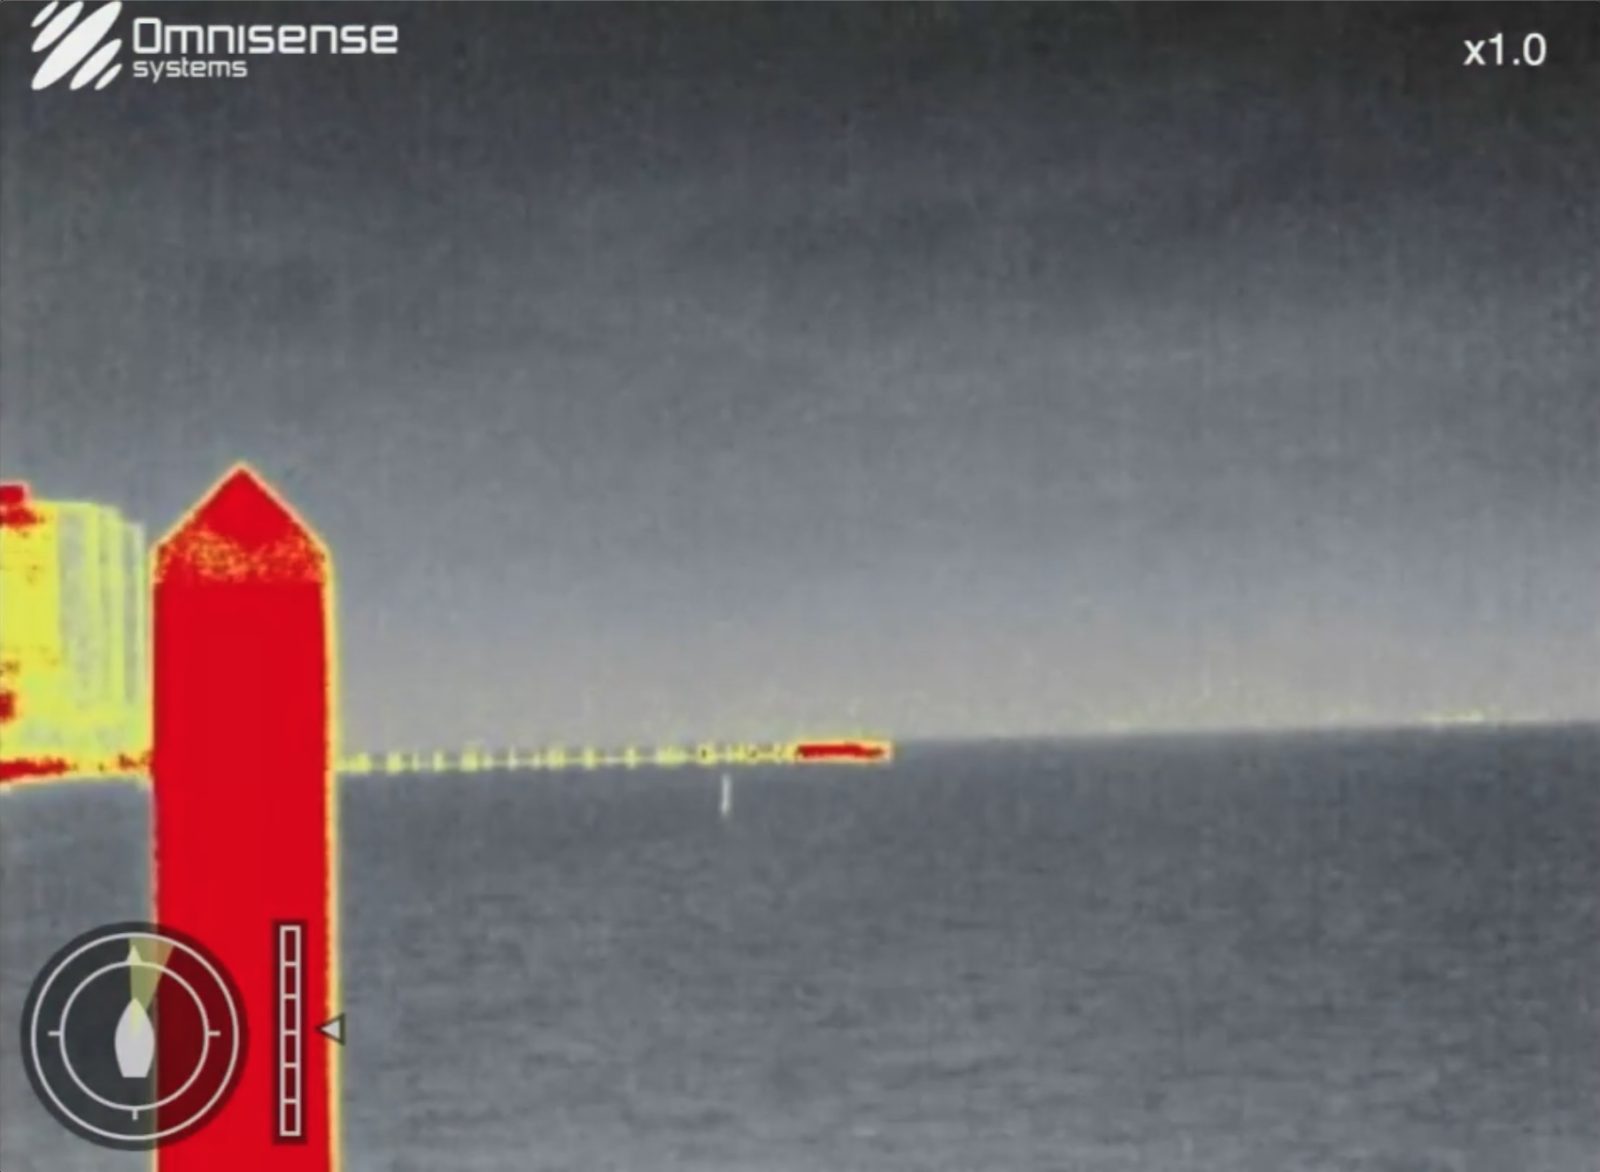
Omnisense has five color scheme options -
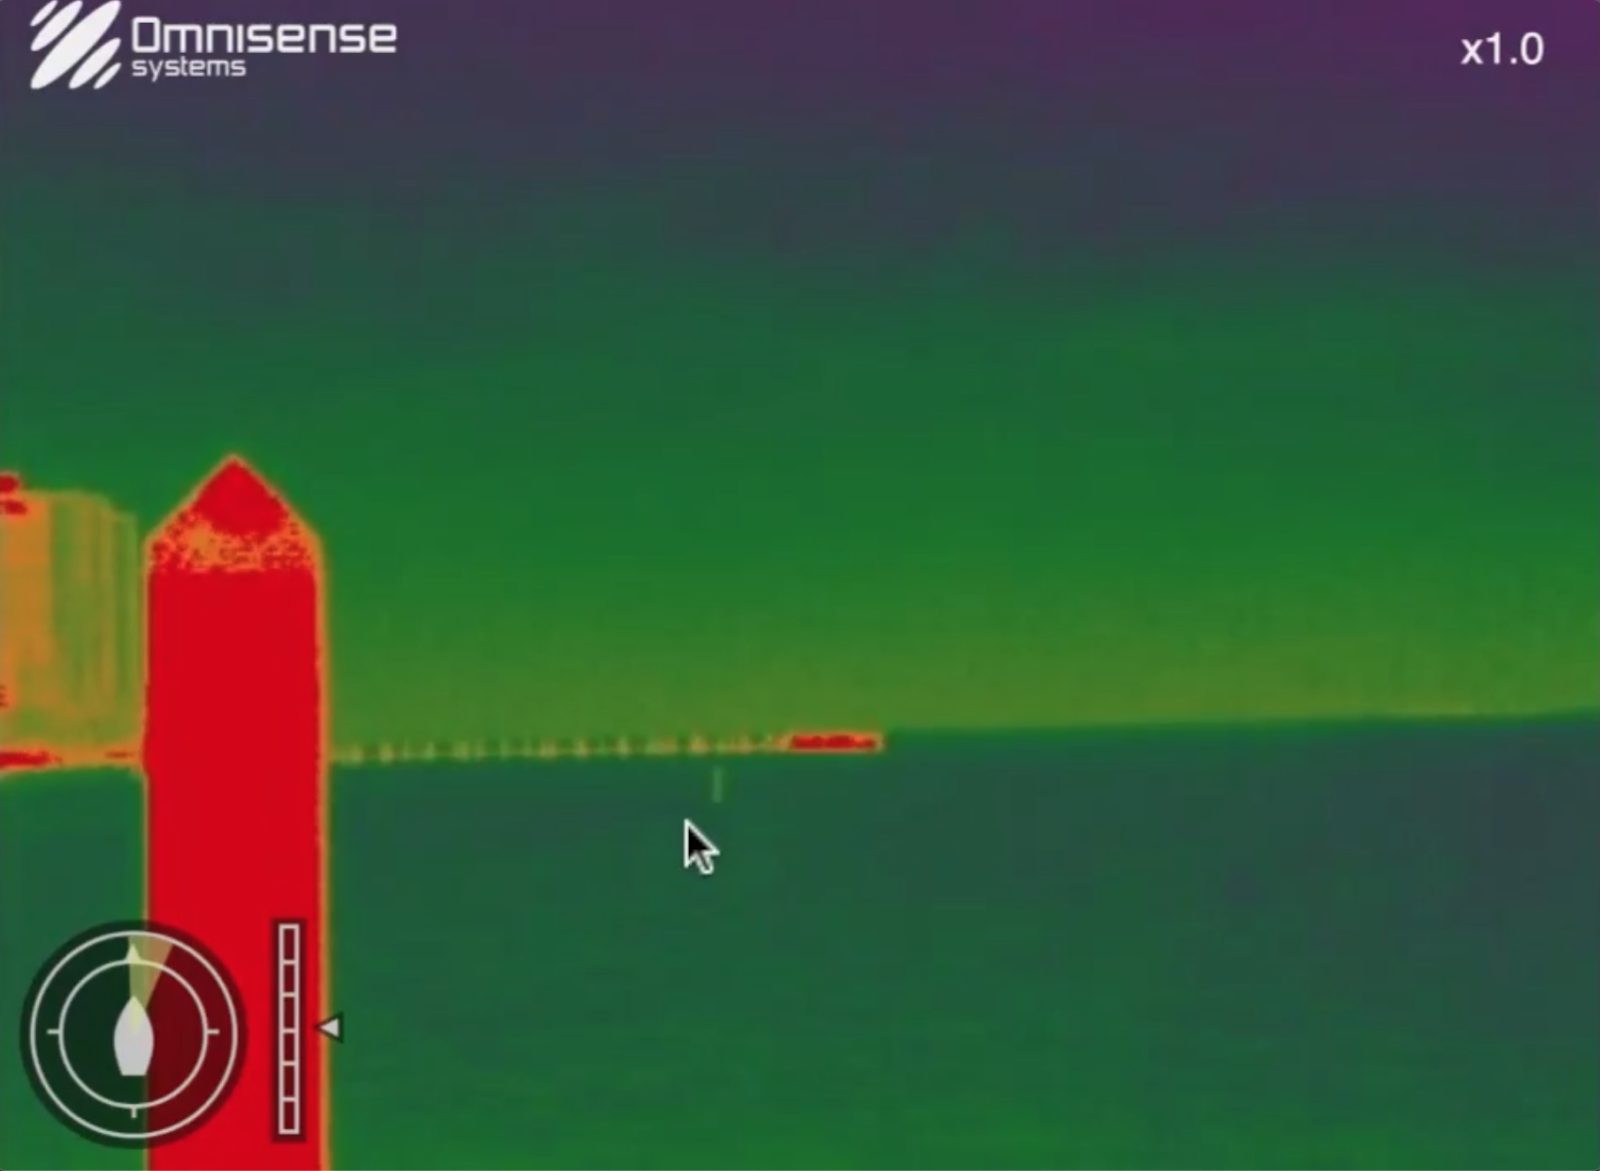
Omnisense has five color scheme options -
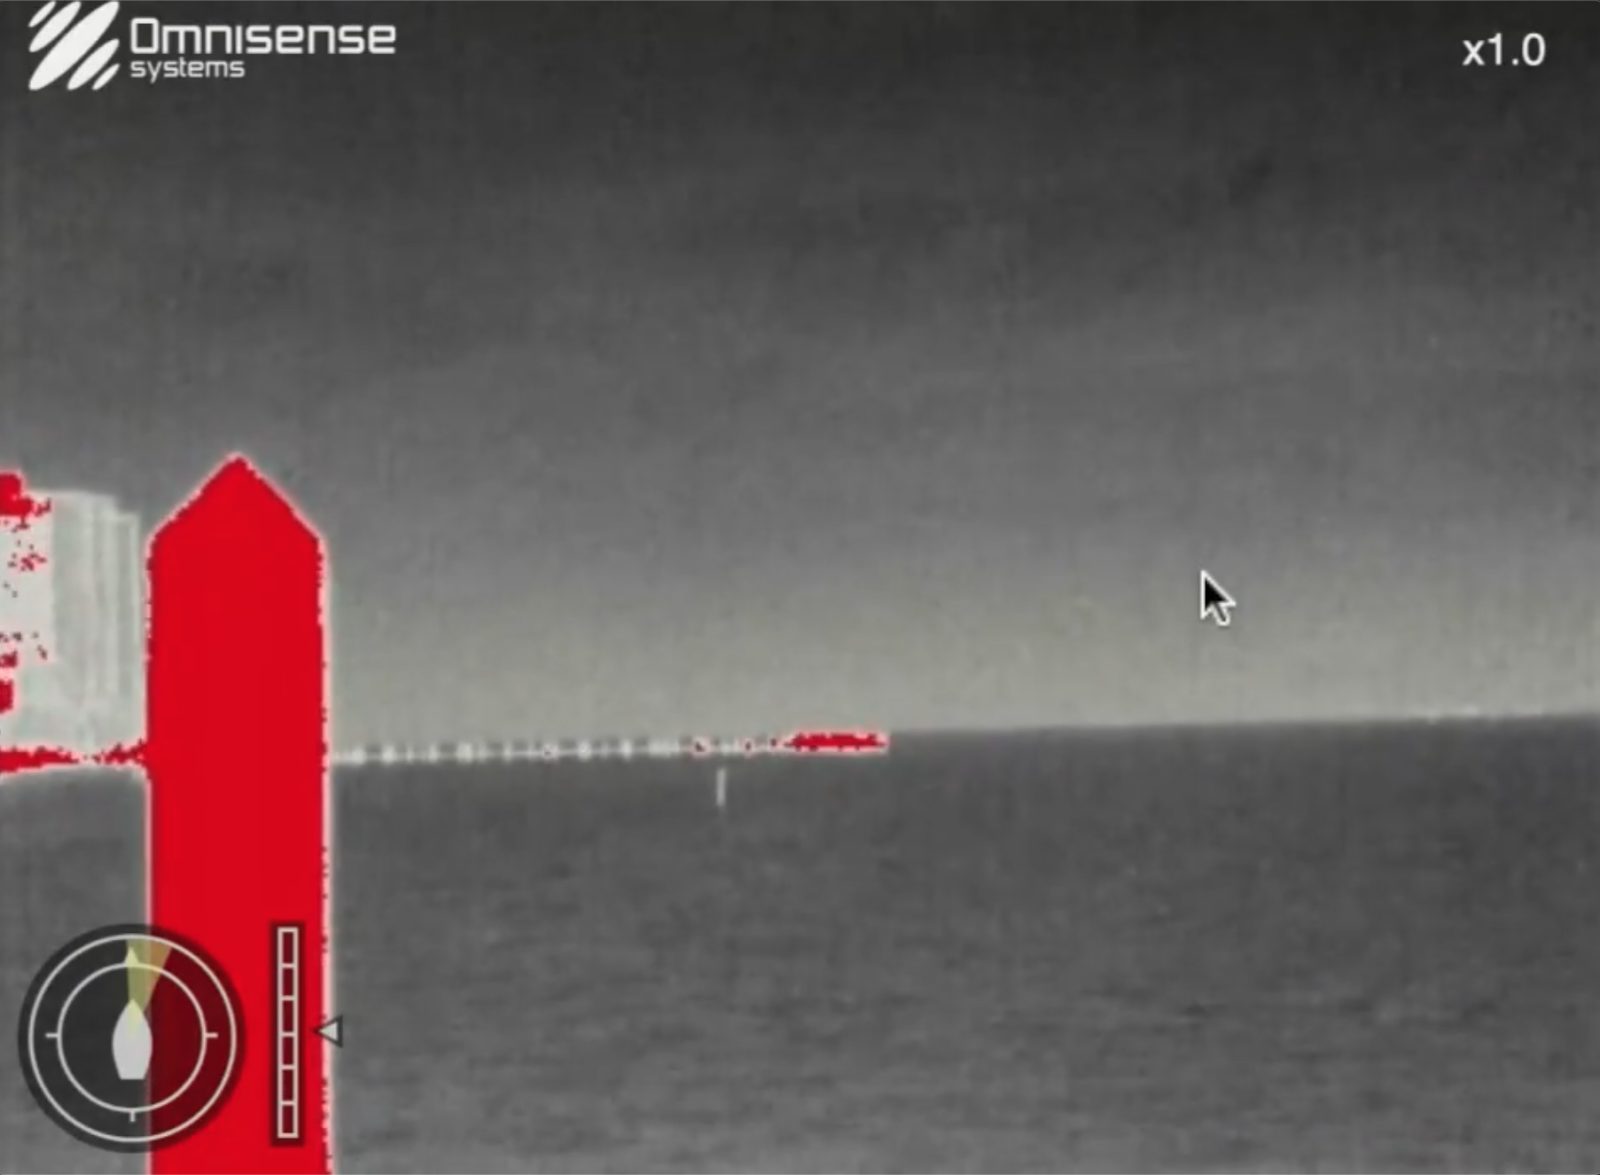
Omnisense has five color scheme options -
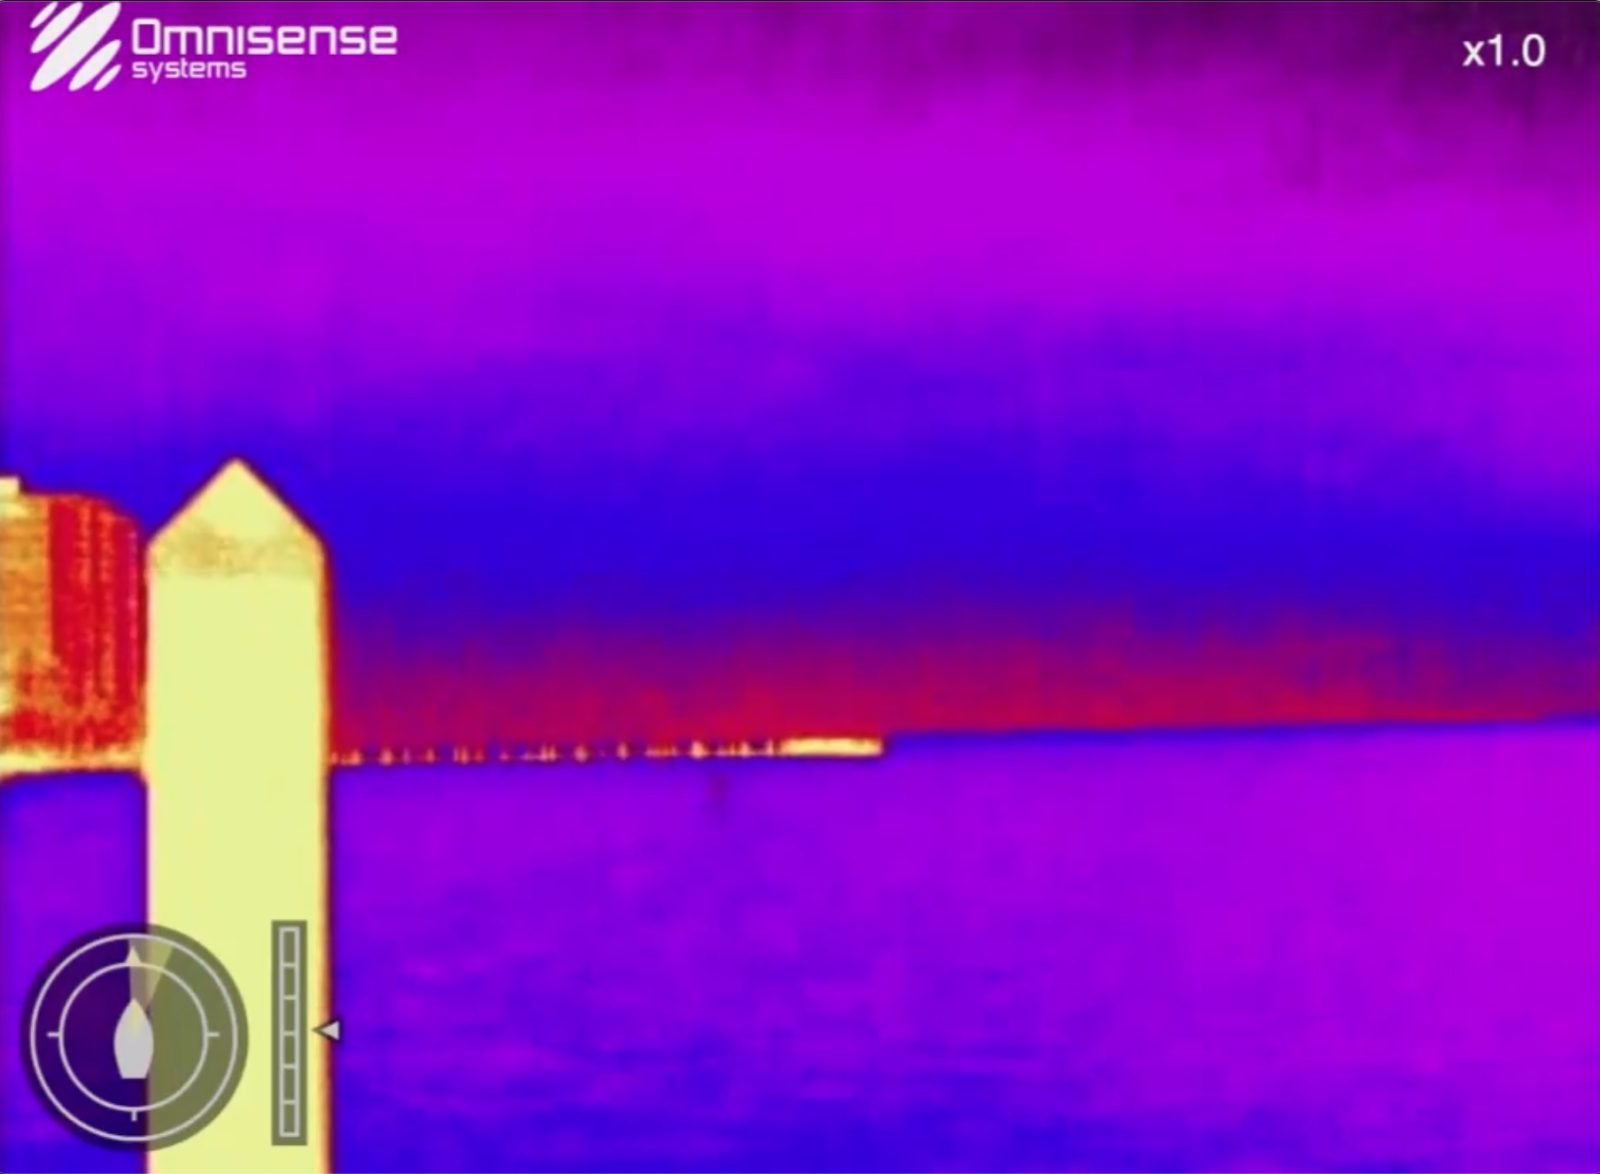
Omnisense has five color scheme options
For my testing, I’ve been using the “White Hot” color scheme from both cameras. This displays hot pixels in white, cold pixels in black, and uses shades of gray between hot and cold. Both cameras support several other color schemes. Although I’ve mostly used white hot, I’m also a big fan of the color scheme FLIR calls Fusion (shown in the top right of the gallery above). Both FLIR and Omnisense offer color schemes that use a grayscale background with outlier temperatures highlighted in contrasting colors. Overall, I found these more difficult to read and felt they took away from my ability to decipher what the camera shows.
Additional capabilities
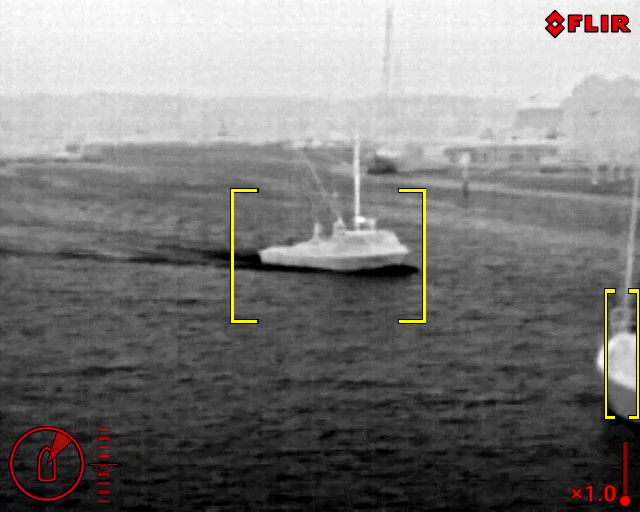
When paired with a Raymarine Axiom MFD, the M232 has several unique capabilities under the ClearCruise name. First is ClearCruise itself. ClearCruise utilizes procesing in the camera to identify what FLIR calls “non-water” objects in the image. The MFD can sound an audible alert in addition to highlighting the object with the yellow brackets shown in the picture above
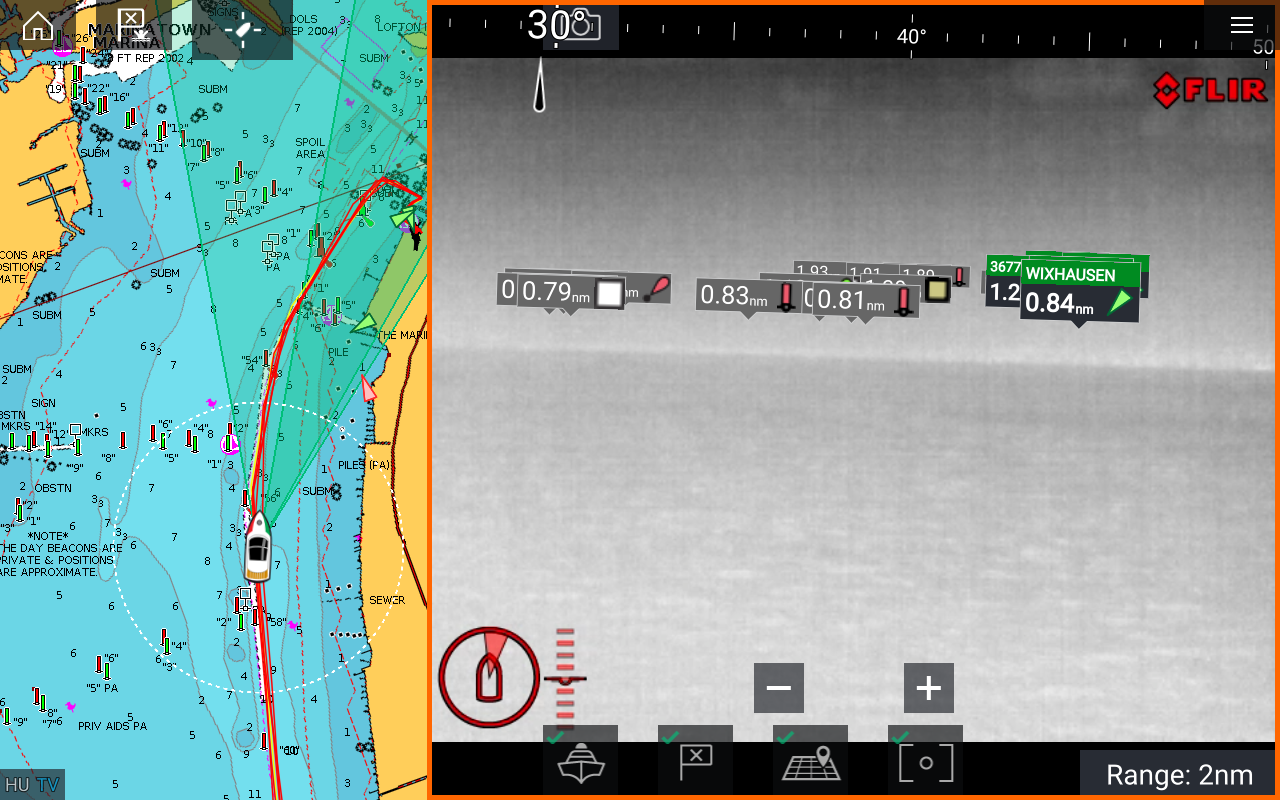
In addition to ClearCruise object detection, Axiom MFDs paired with FLIR thermal cameras, and an AR200 stabilization module, can deliver a capability called ClearCruise AR. ClearCruise AR overlays augmented reality flags over AIS targets, ATONs, and waypoints. In my testing of ClearCruise AR I’ve found it very helpful to be able to positively identify an object on screen via ClearCruise AR.
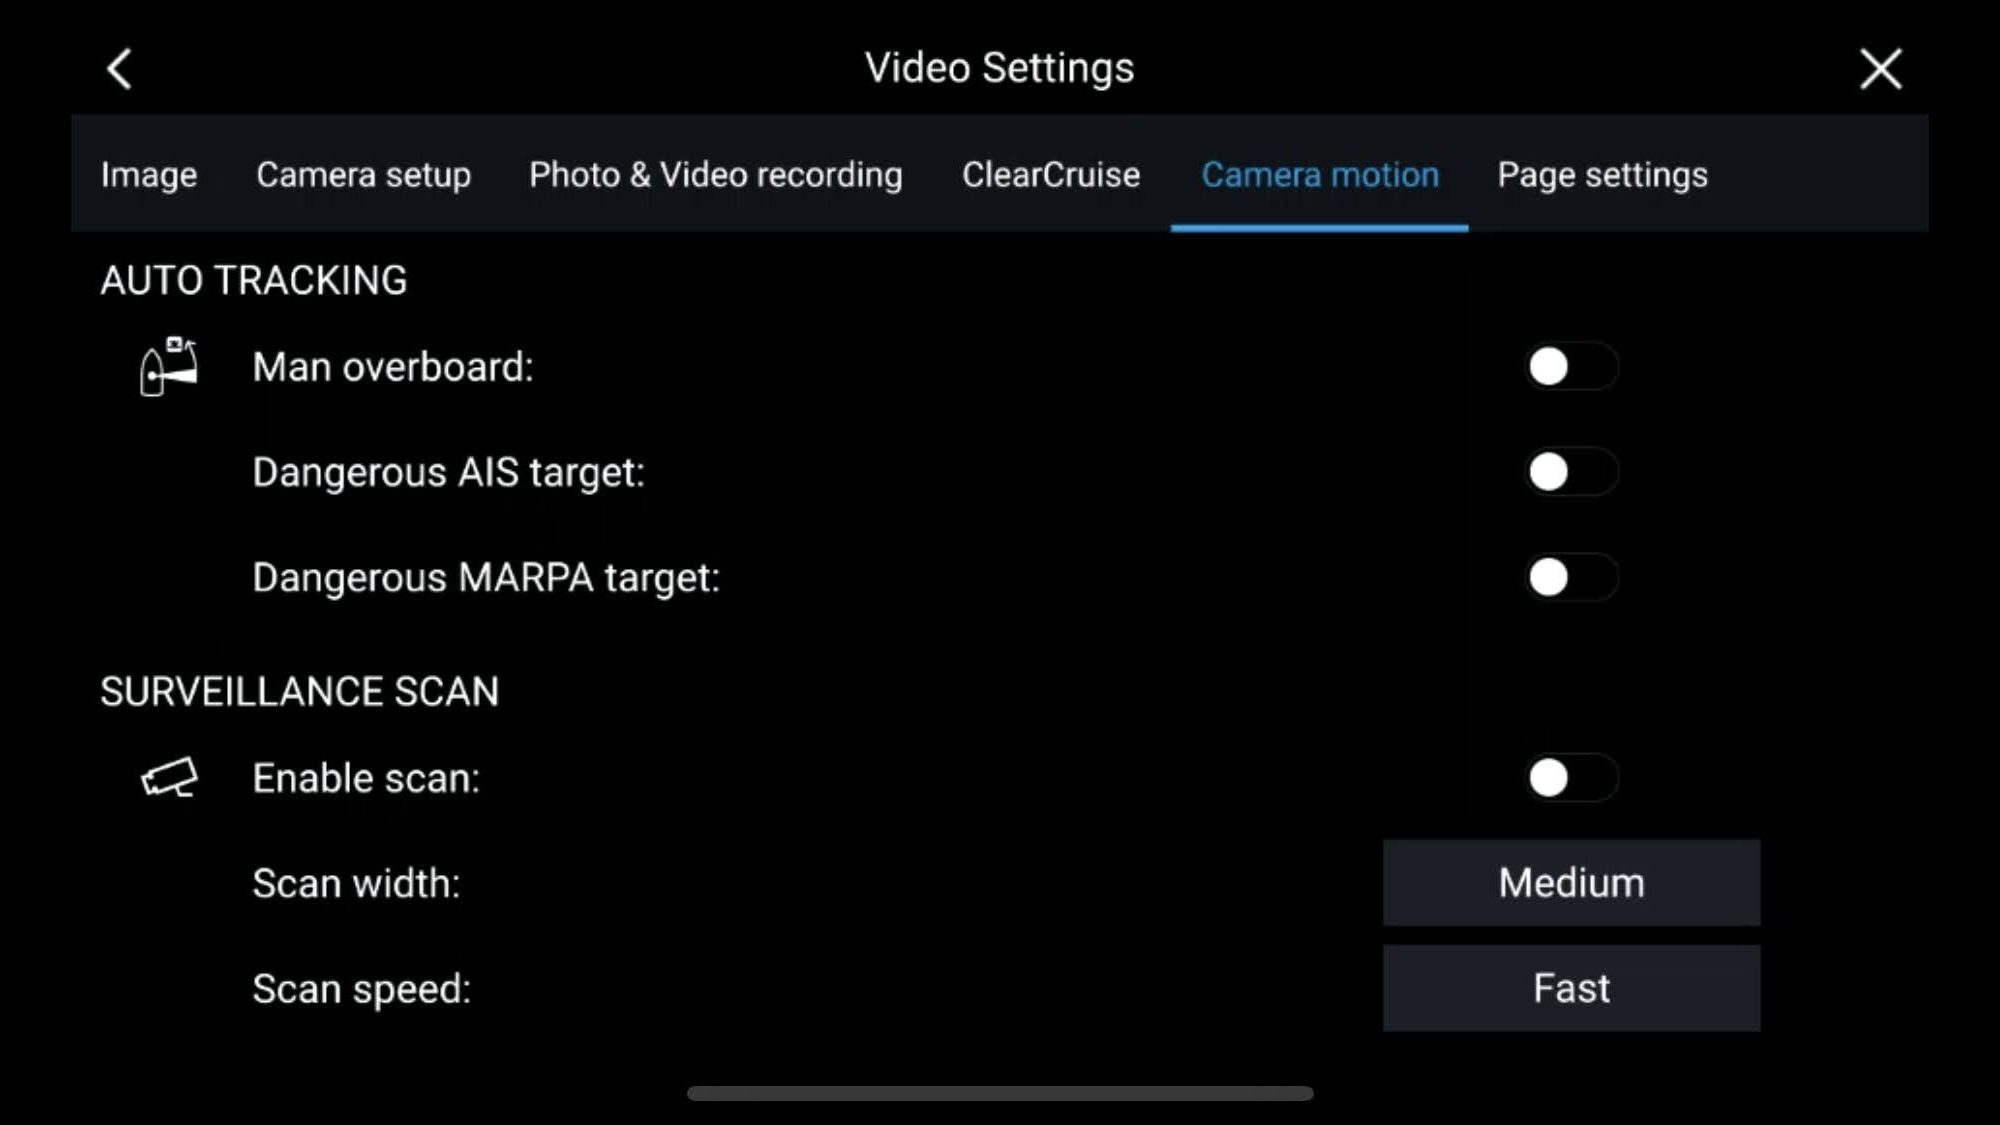
Both cameras support integration with connected MFDs to control motion. Omnisense’s control is limited to slew-to-cue on a radar scope. This allows the camera to go to aim at a point you touch on the radar scope. FLIR supports quite a few more camera tracking functions including automatically tracking various hazardous targets. Plus, the camera can support a surveillance style scan where the camera pans continuously to show the area around the boat.
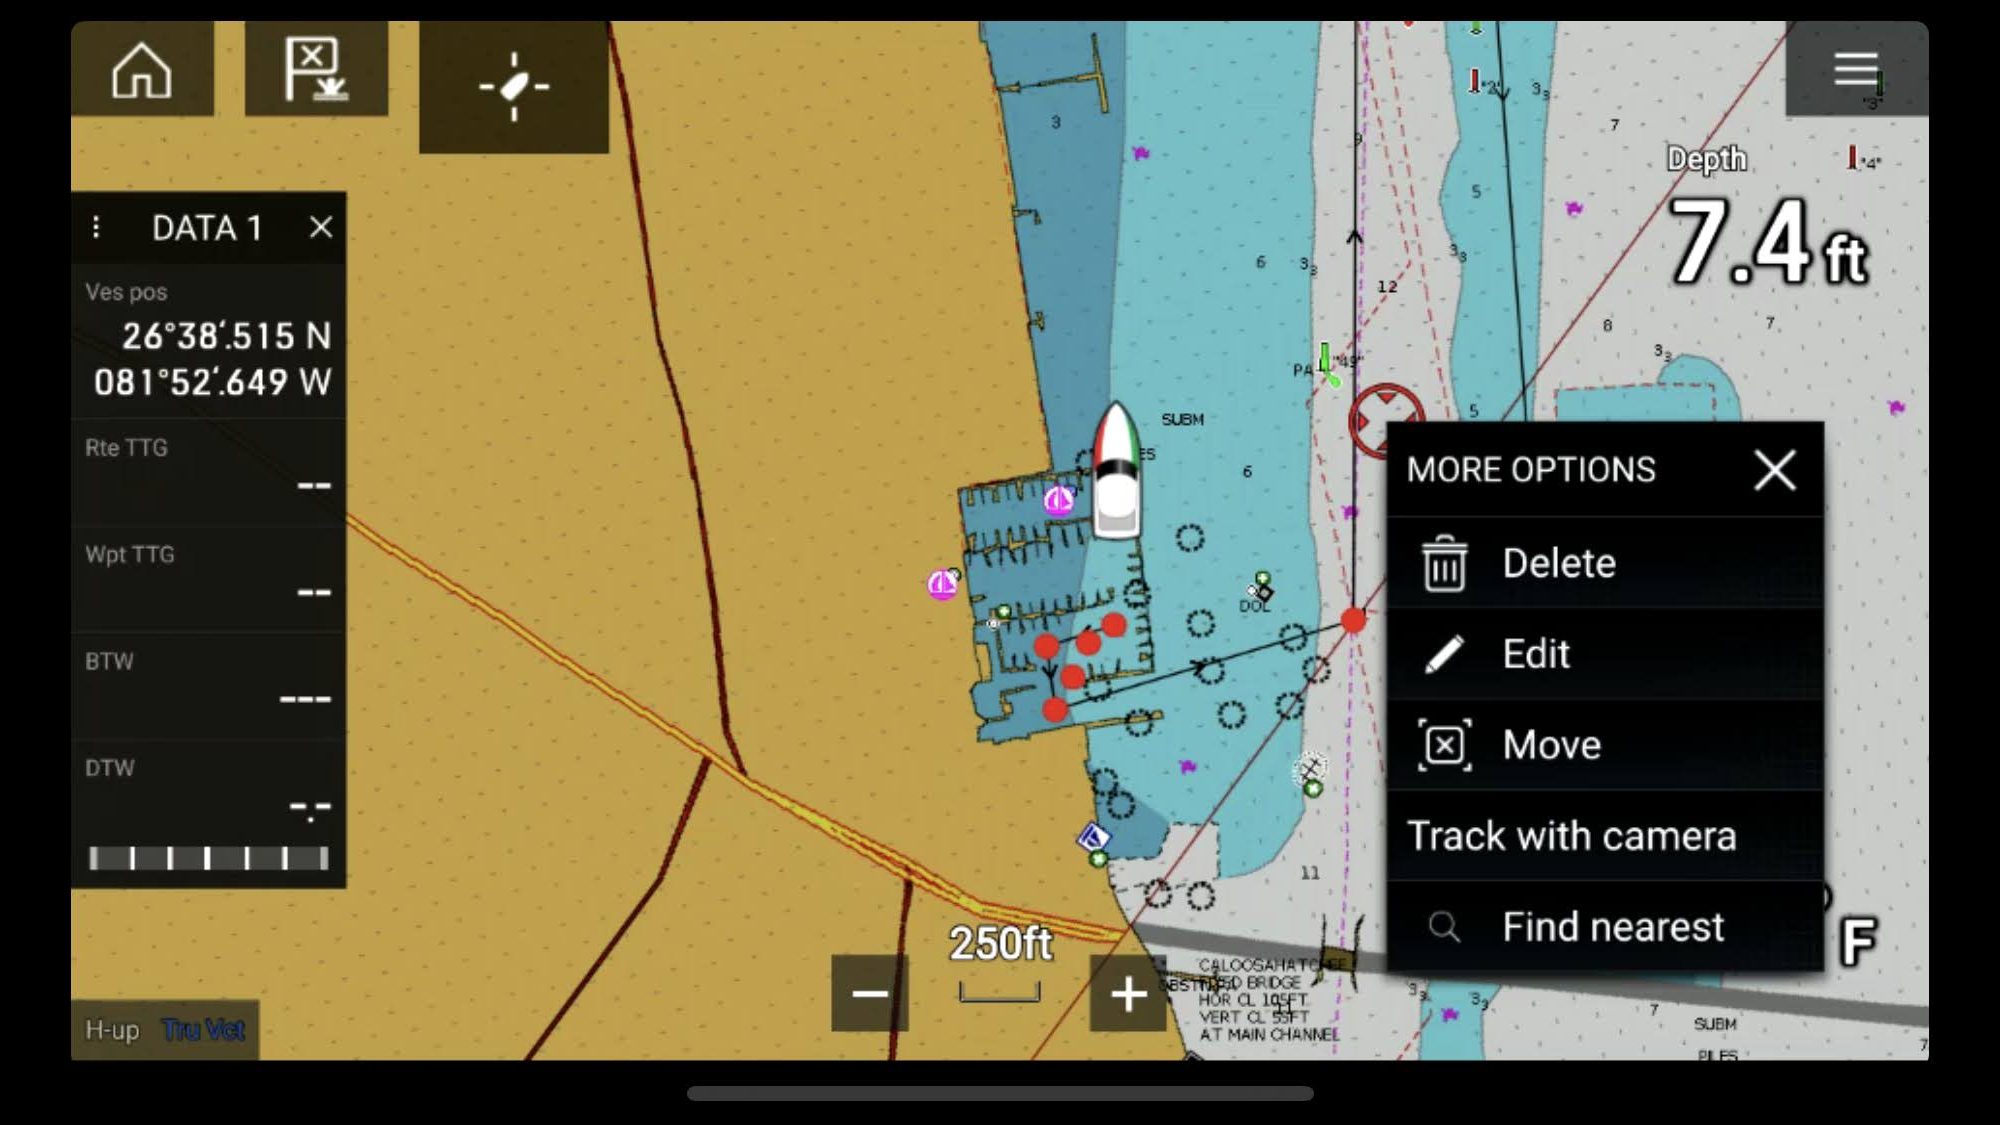
Using the chart view on a Raymarine Axiom, the camera can track a waypoint or other chart element. In the screenshot above I’ve clicked on a waypoint and brought up more options. Pressing “Track with camera” will aim the camera at the location of the waypoint. As the boat moves around the waypoint, the camera will move to stay focused on the spot.
Final thoughts
At the outset, I teased to read on to see if there’s a clear winner. Sorry to say, I don’t think there is a winner here. These are two very capable thermal cameras. If you regularly boat at night, either one of these cameras will significantly increase your situational awareness and safety. There are subtle differences between the cameras. The Omnisense offers more resolution while the FLIR offers quite a few more integration options, especially when paired with Raymarine Axiom MFDs. Overall, I don’t think you can go wrong with either camera.

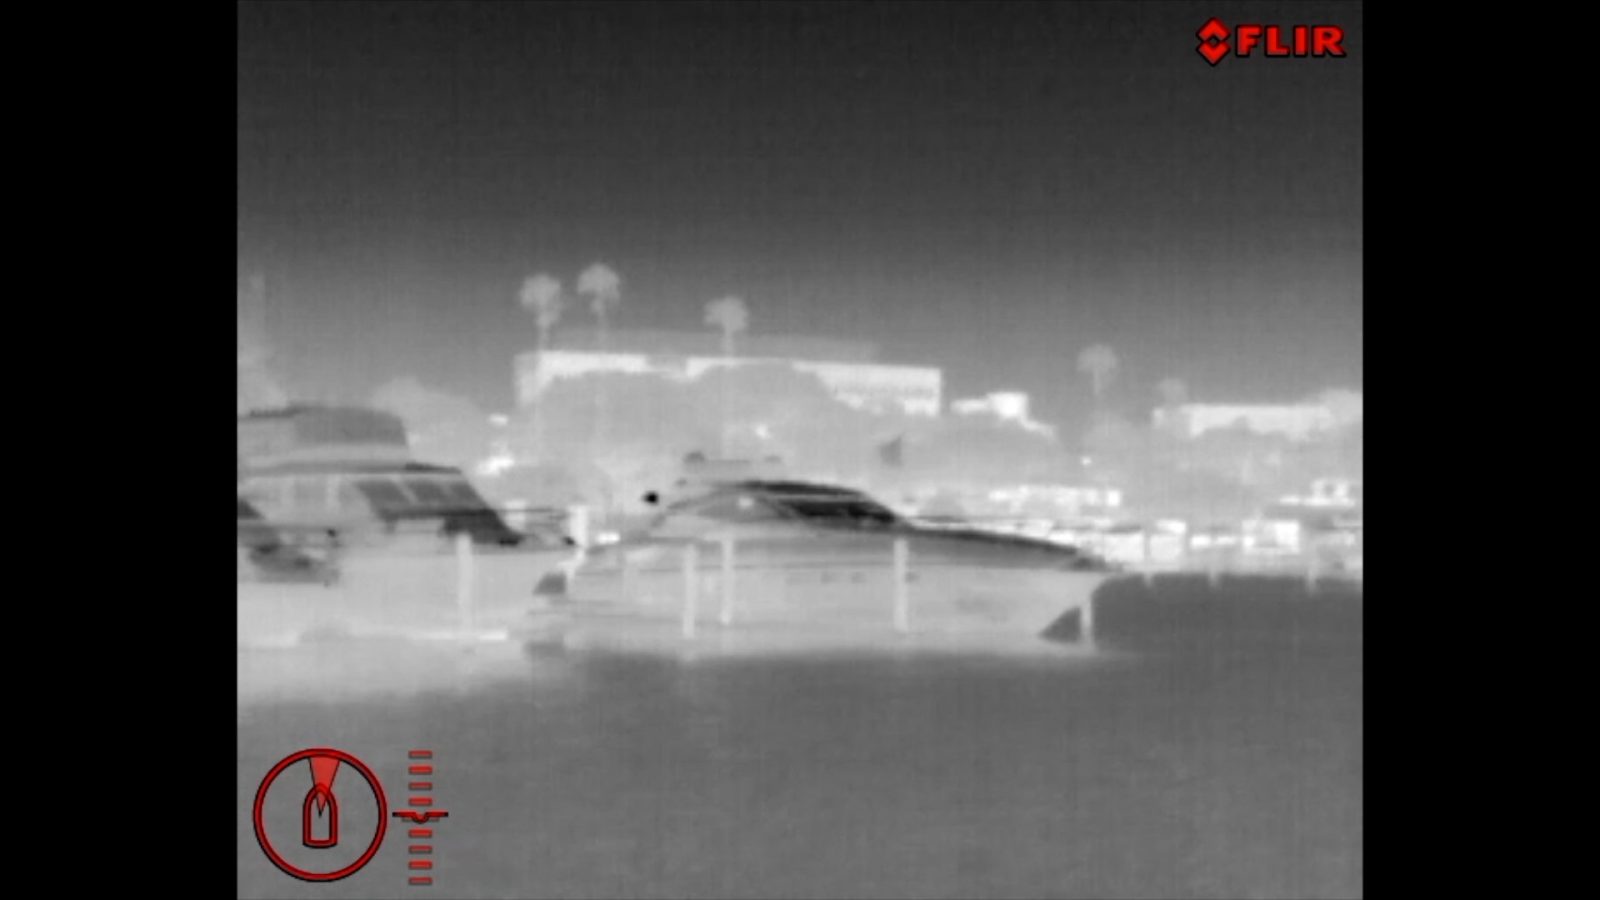


 Los Angeles World Airports.


